How to frame works
For a very long time, I have seen a lot of people posting about their framed cross stitches. The finished pieces look amazing, but the framing is lacking. By that I mean, creases in the cloth, the piece is covered by an edge of the frame, no tension in the cloth etc. No matter how amazing your cross stitch looks, if it is not framed properly it will look bad.
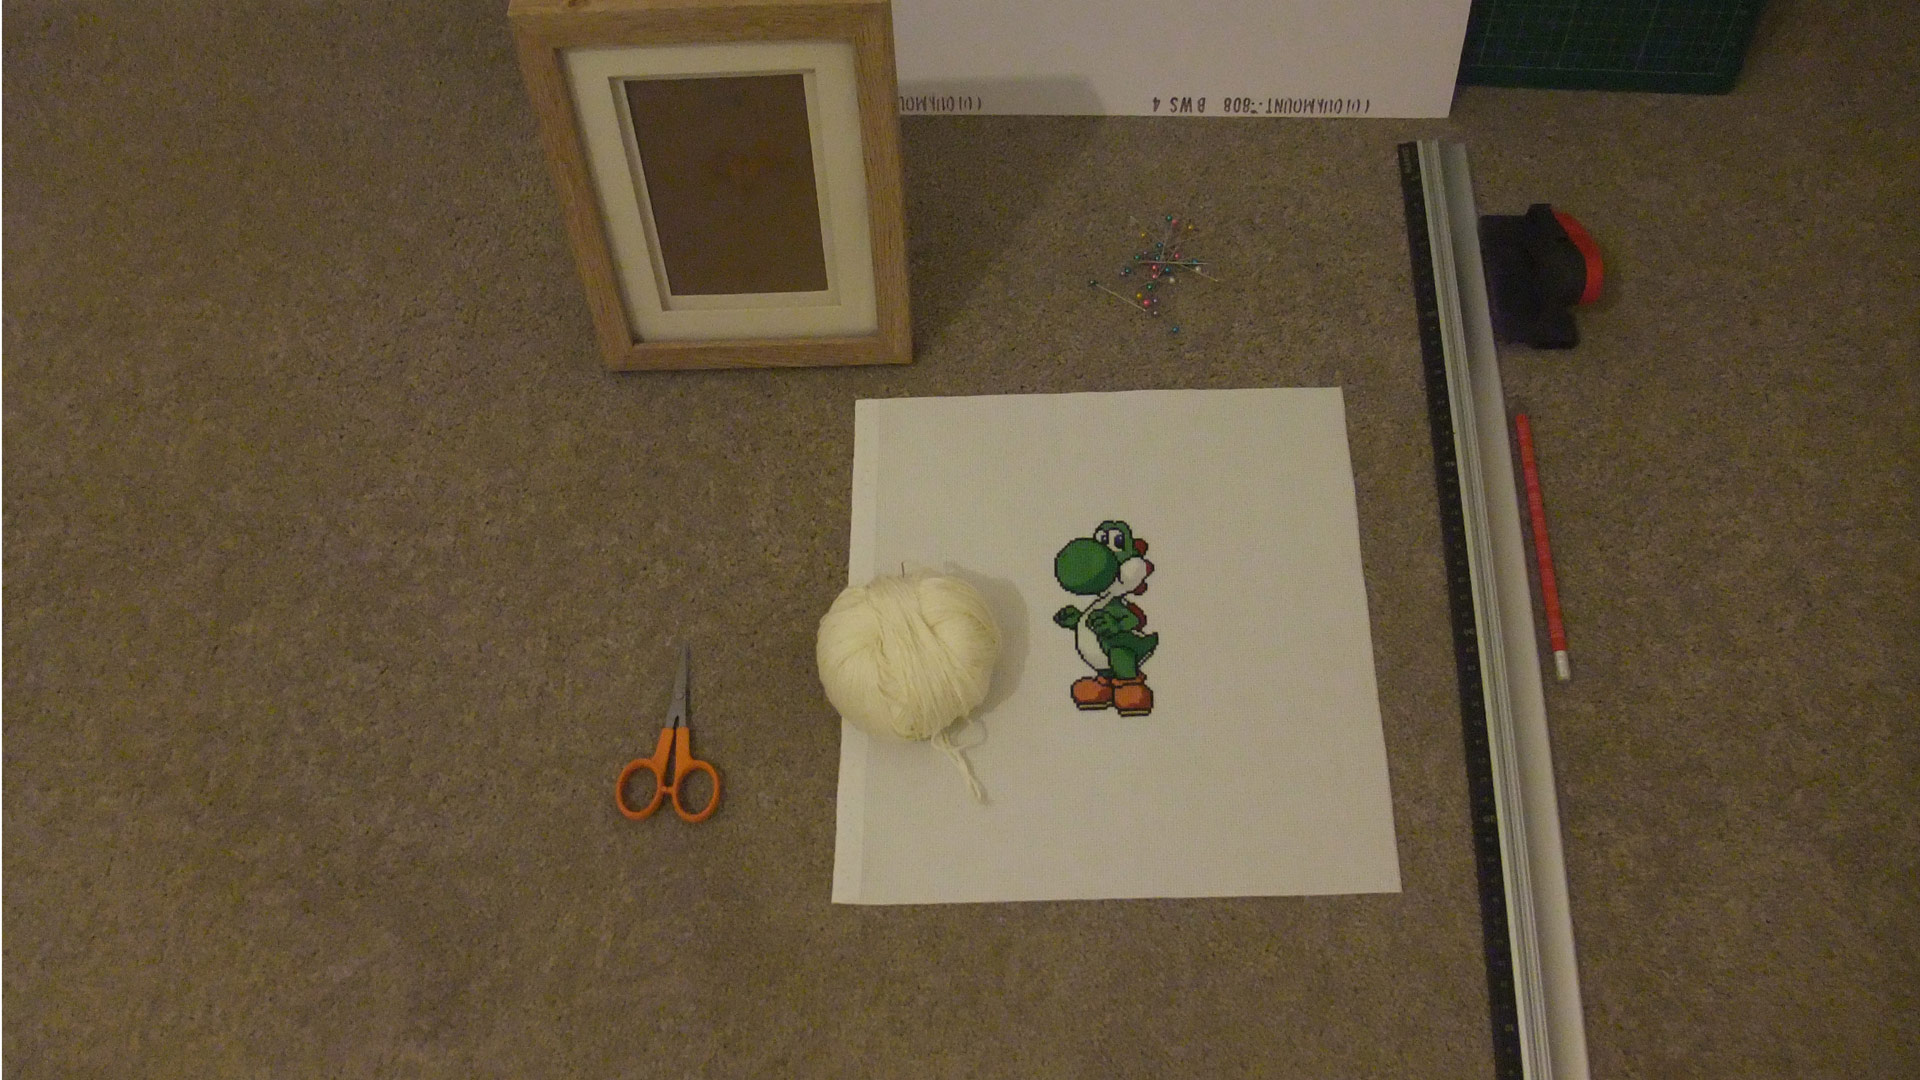
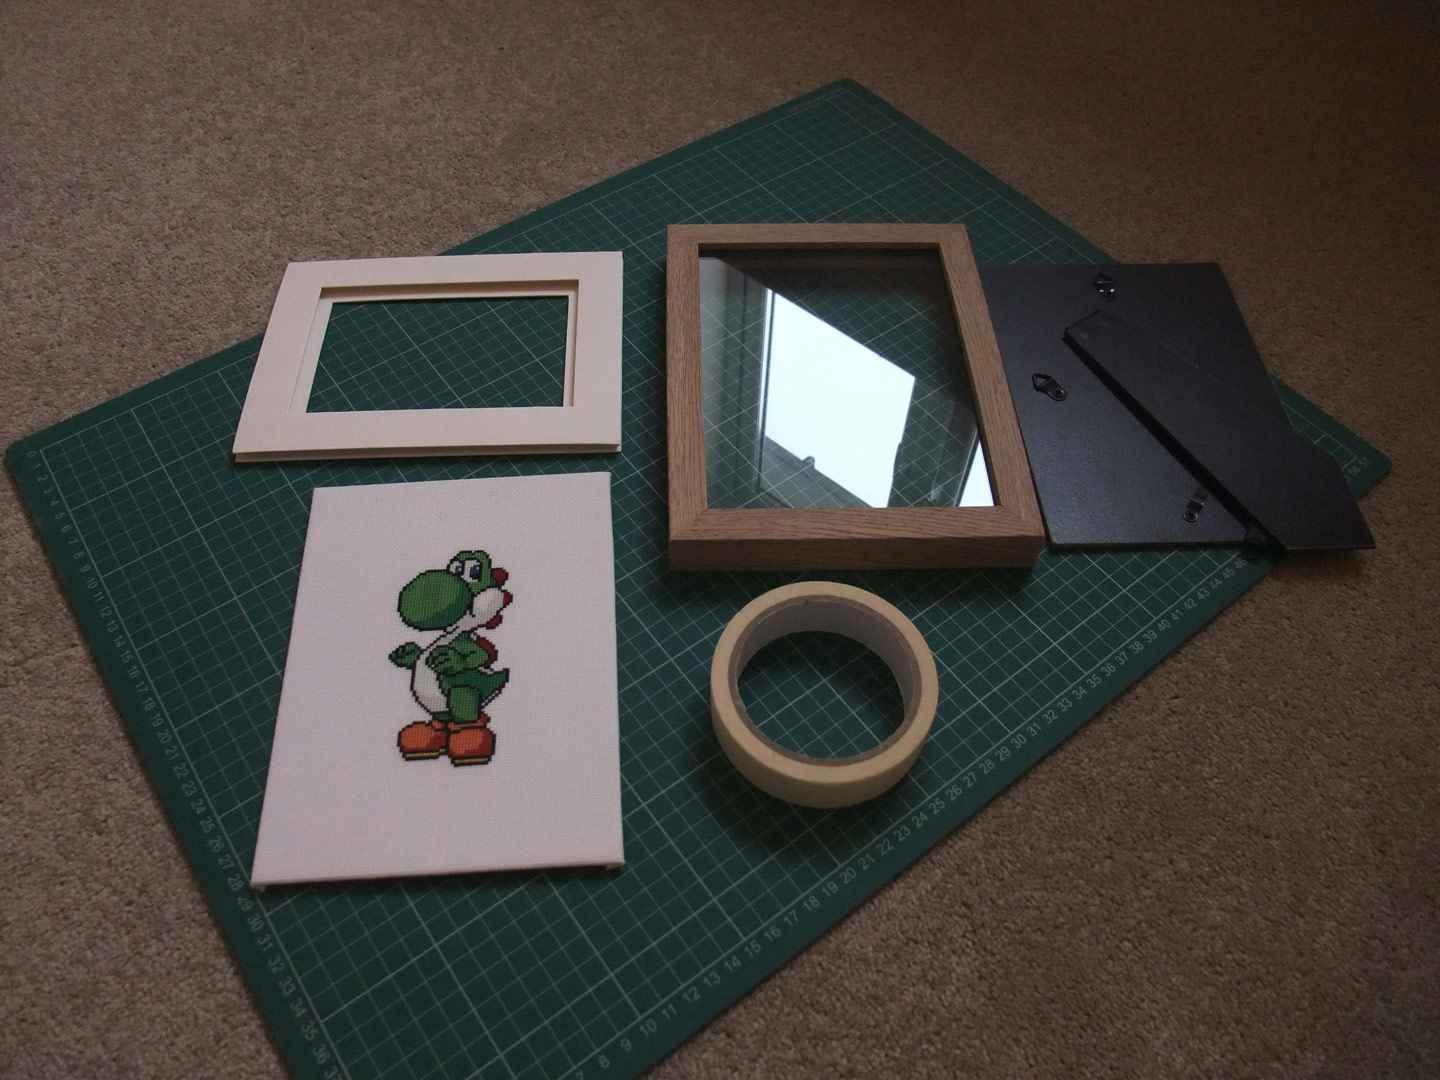
So I decided to make a tutorial how I frame my works. The materials you will need are:
- cross stitch (washed and ironed) – I will make a post how to do that a bit later.
- frame ( in this case I used a photo frame with already pre-made cardboard edge)
- scissors
- pins
- strong cotton or synthetic thread (that will not stretch)
- ruler
- pencil
- sharp paper knife
- cardboard for backing – I used 1.5 mm
- cutting surface
- masking tape – paper
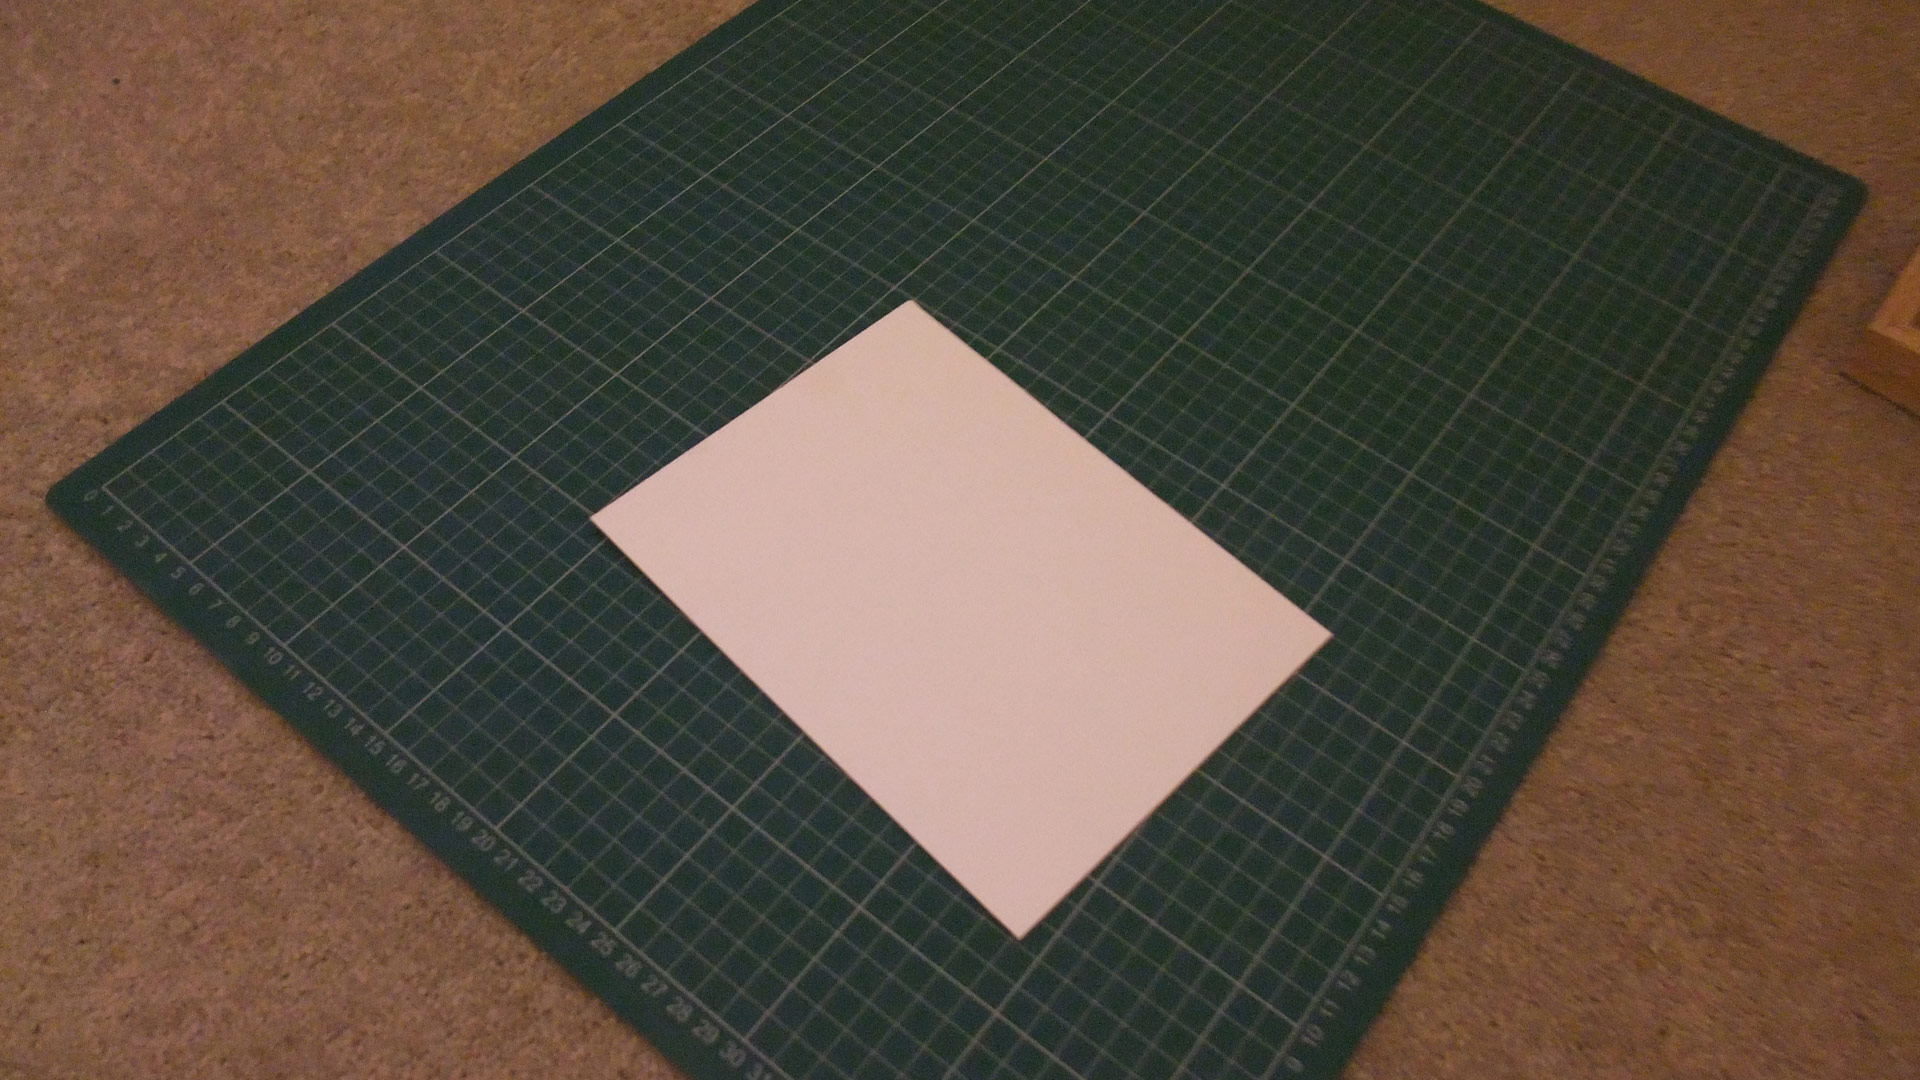
First step – measure your frame and cut the cardboard to fit inside. Make the cardboard a couple of millimetres smaller then the frame, so that when you wrap cloth around it it still fits.
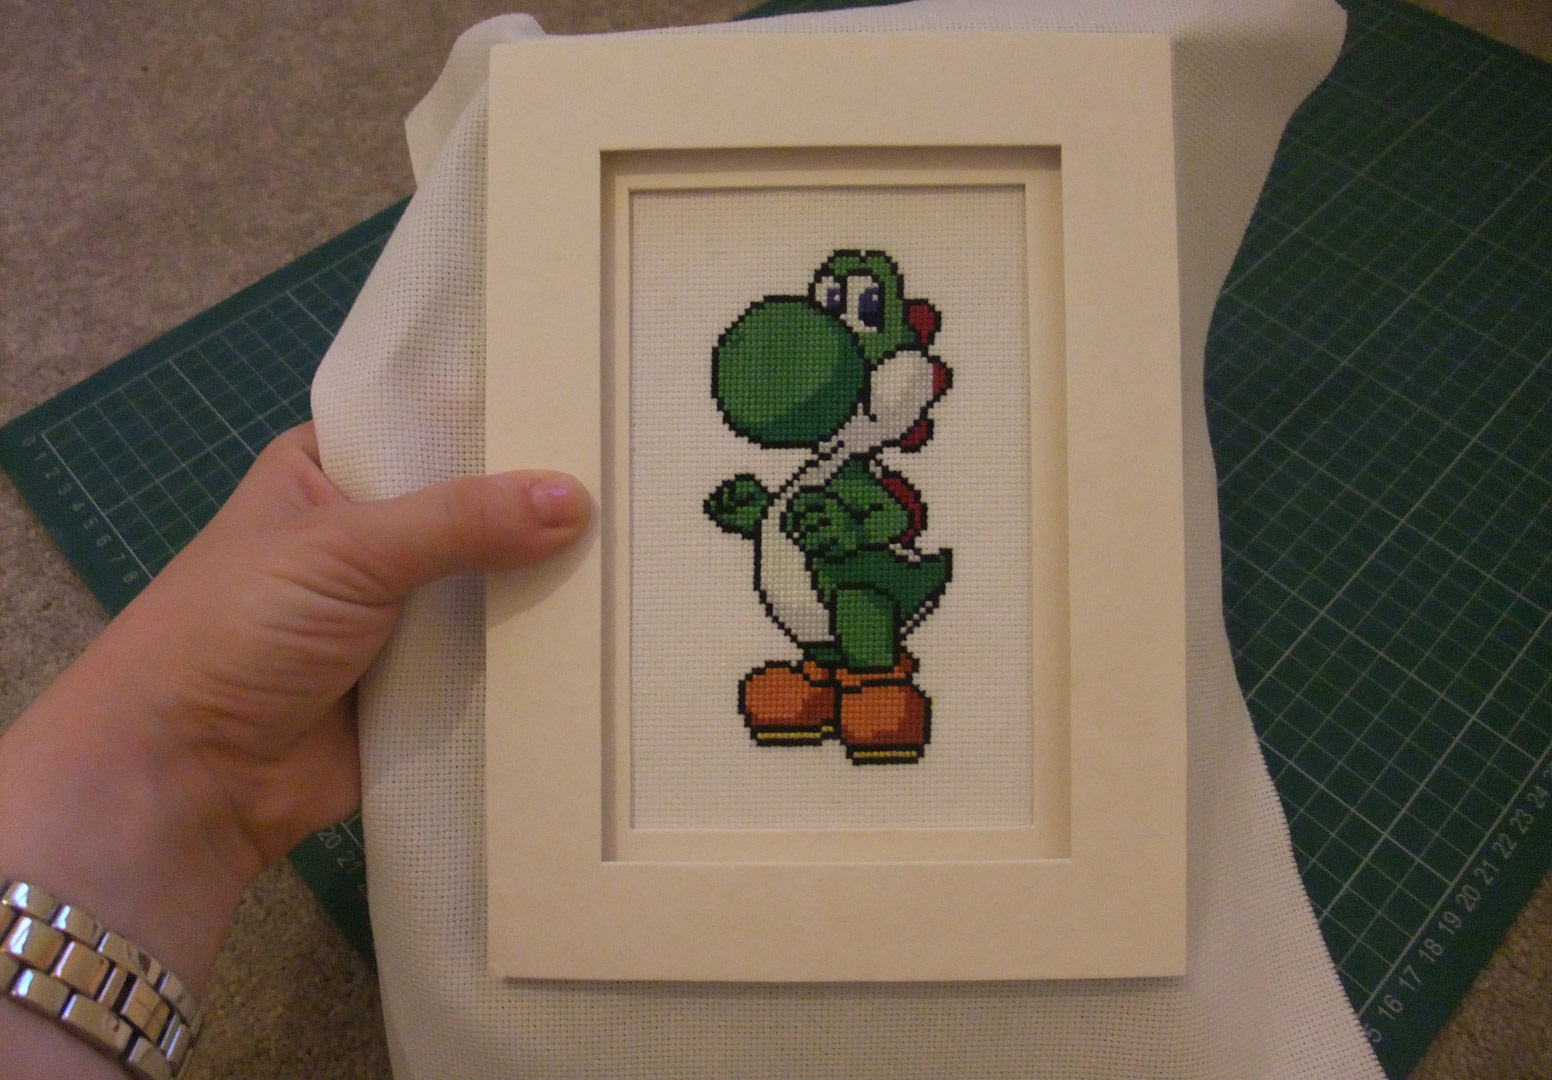
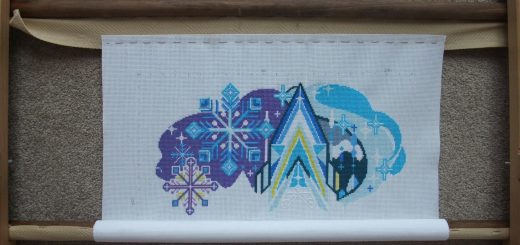
Next step – while holding your cardboard, align the cross-stitch and the inner frame how you want it to sit. This will be your end result so shuffle it around until you are satisfied. 🙂
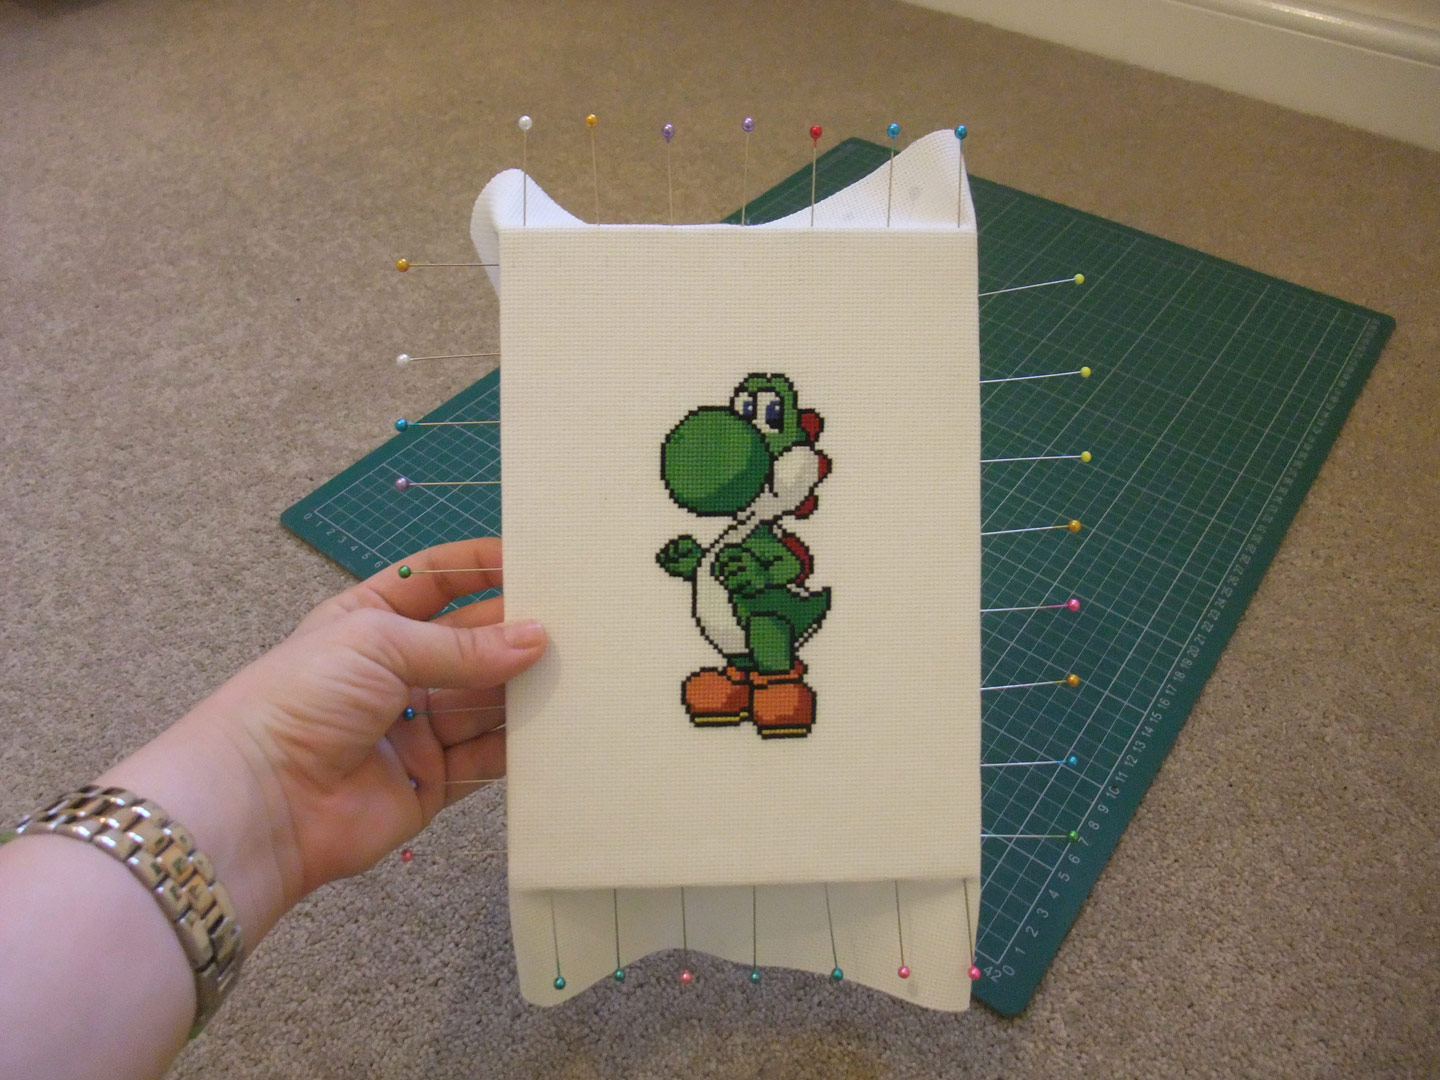
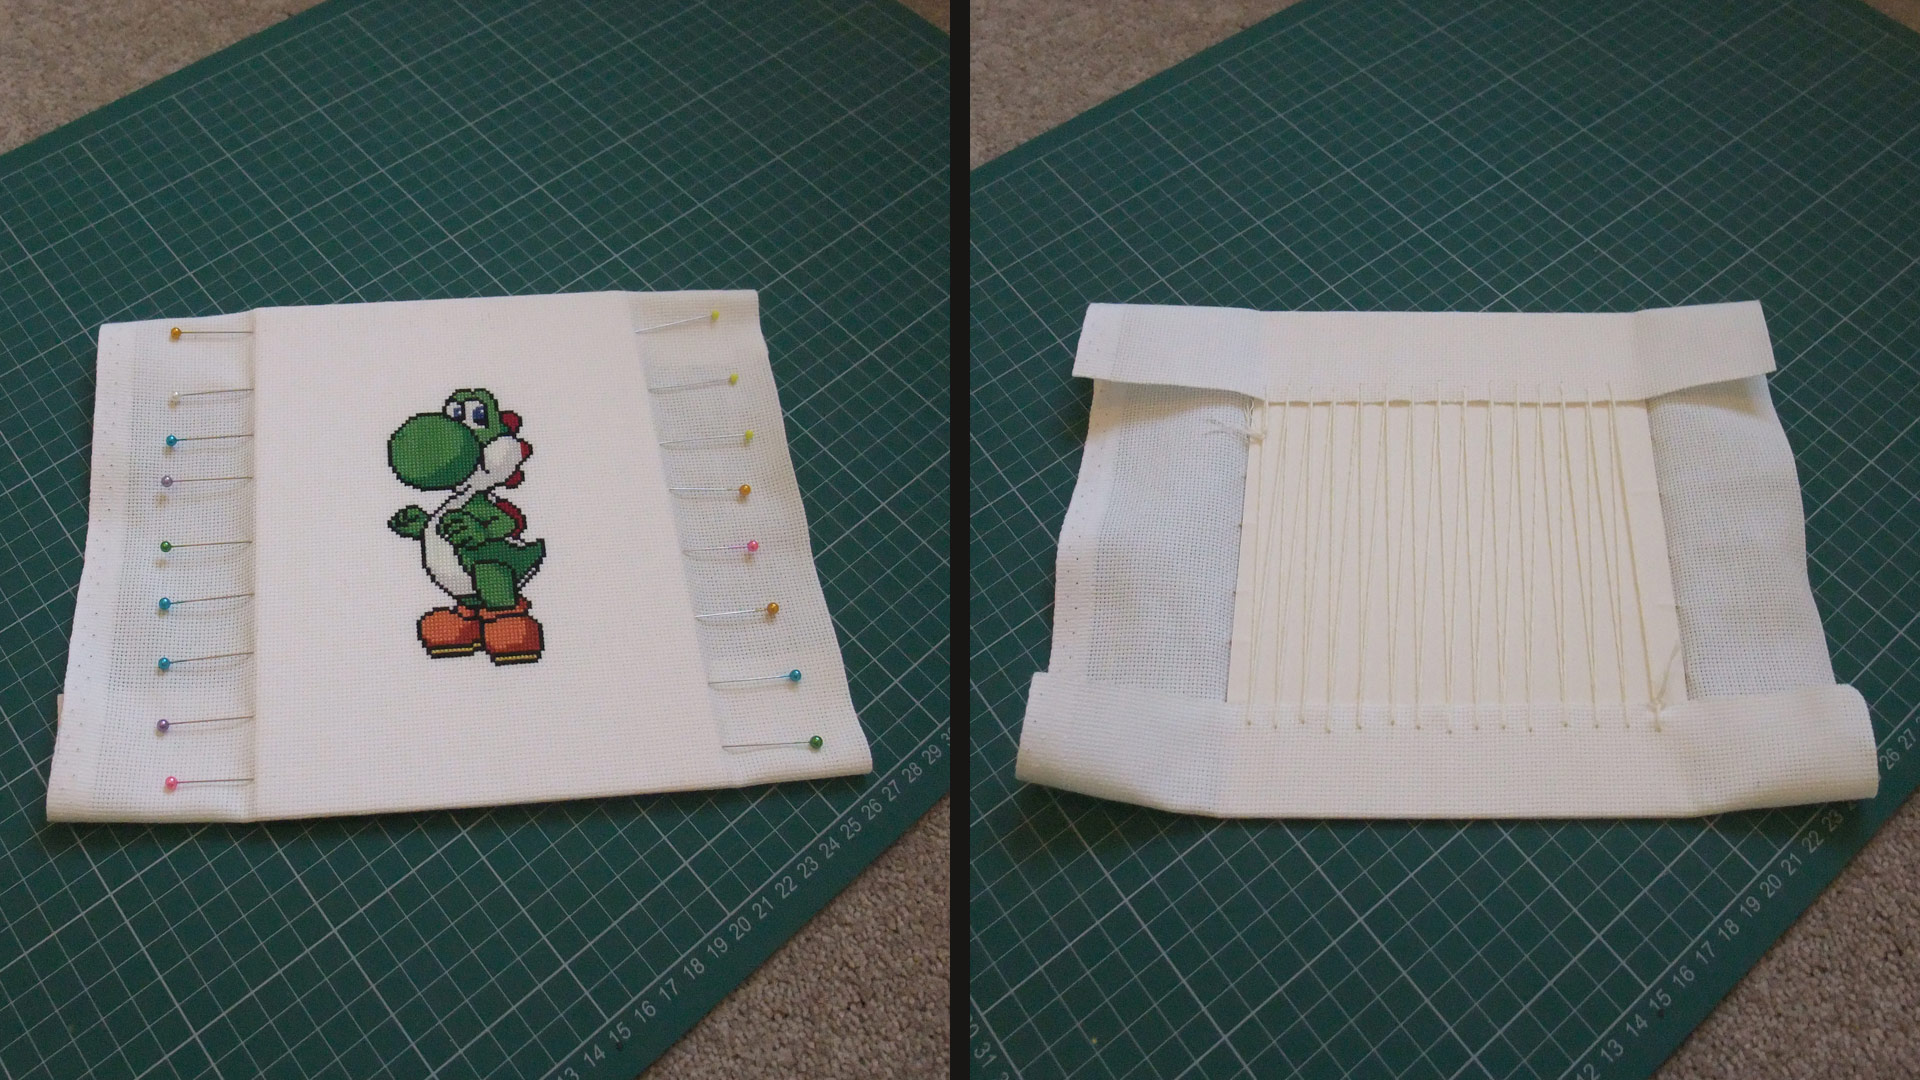
Now the pins make an appearance. While holding it all together how you want it, pin the cloth vertically into the cardboard. make it nice and tight, but not to tight – it will bow the cardboard if it is too tight. 
Looks a bit like a hedgehog. Be careful – pins sometimes drop out as you are handling it. I have stepped on couple – not fun!
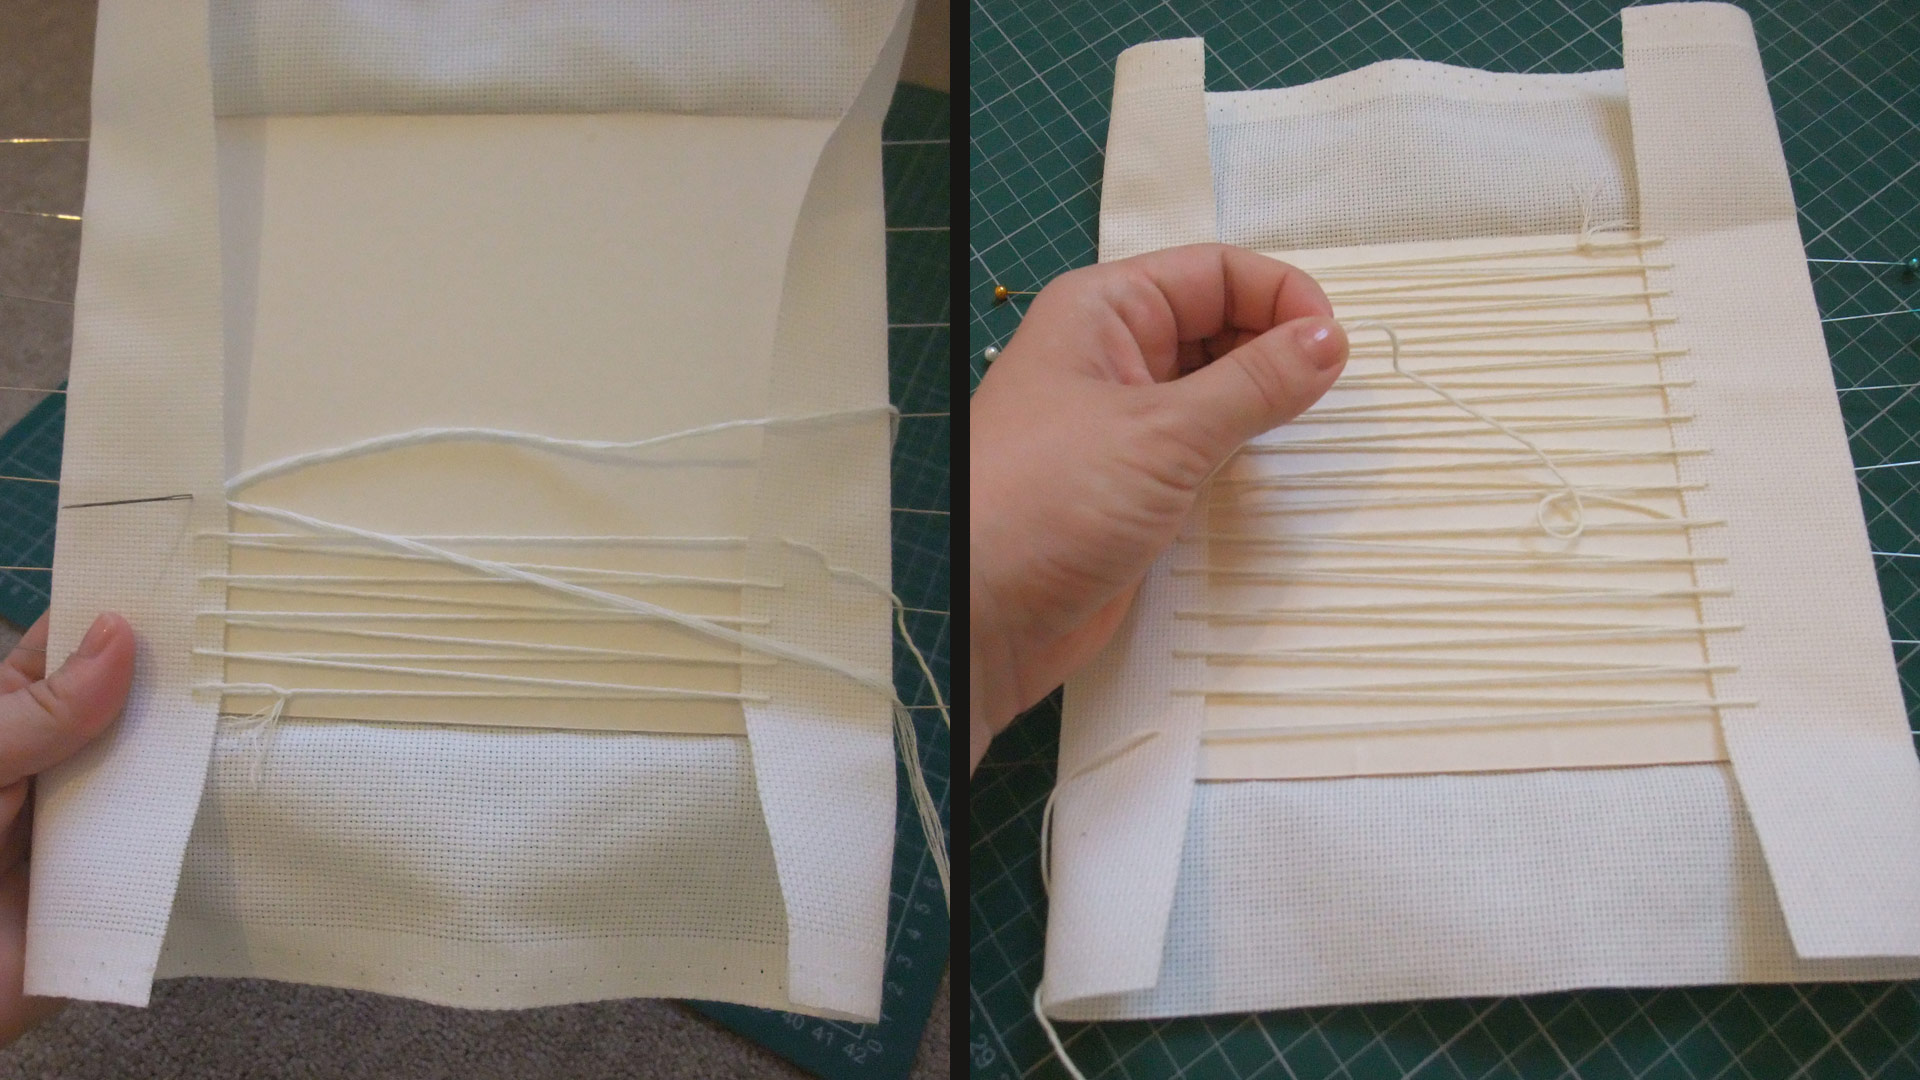
So now it is time for your cotton thread. Use zigzag stitching. The pins should be holding the cloth quite snugly. When you are done with one direction, tighten the threads, but be careful not to bow the cardboard. Then tie it off.
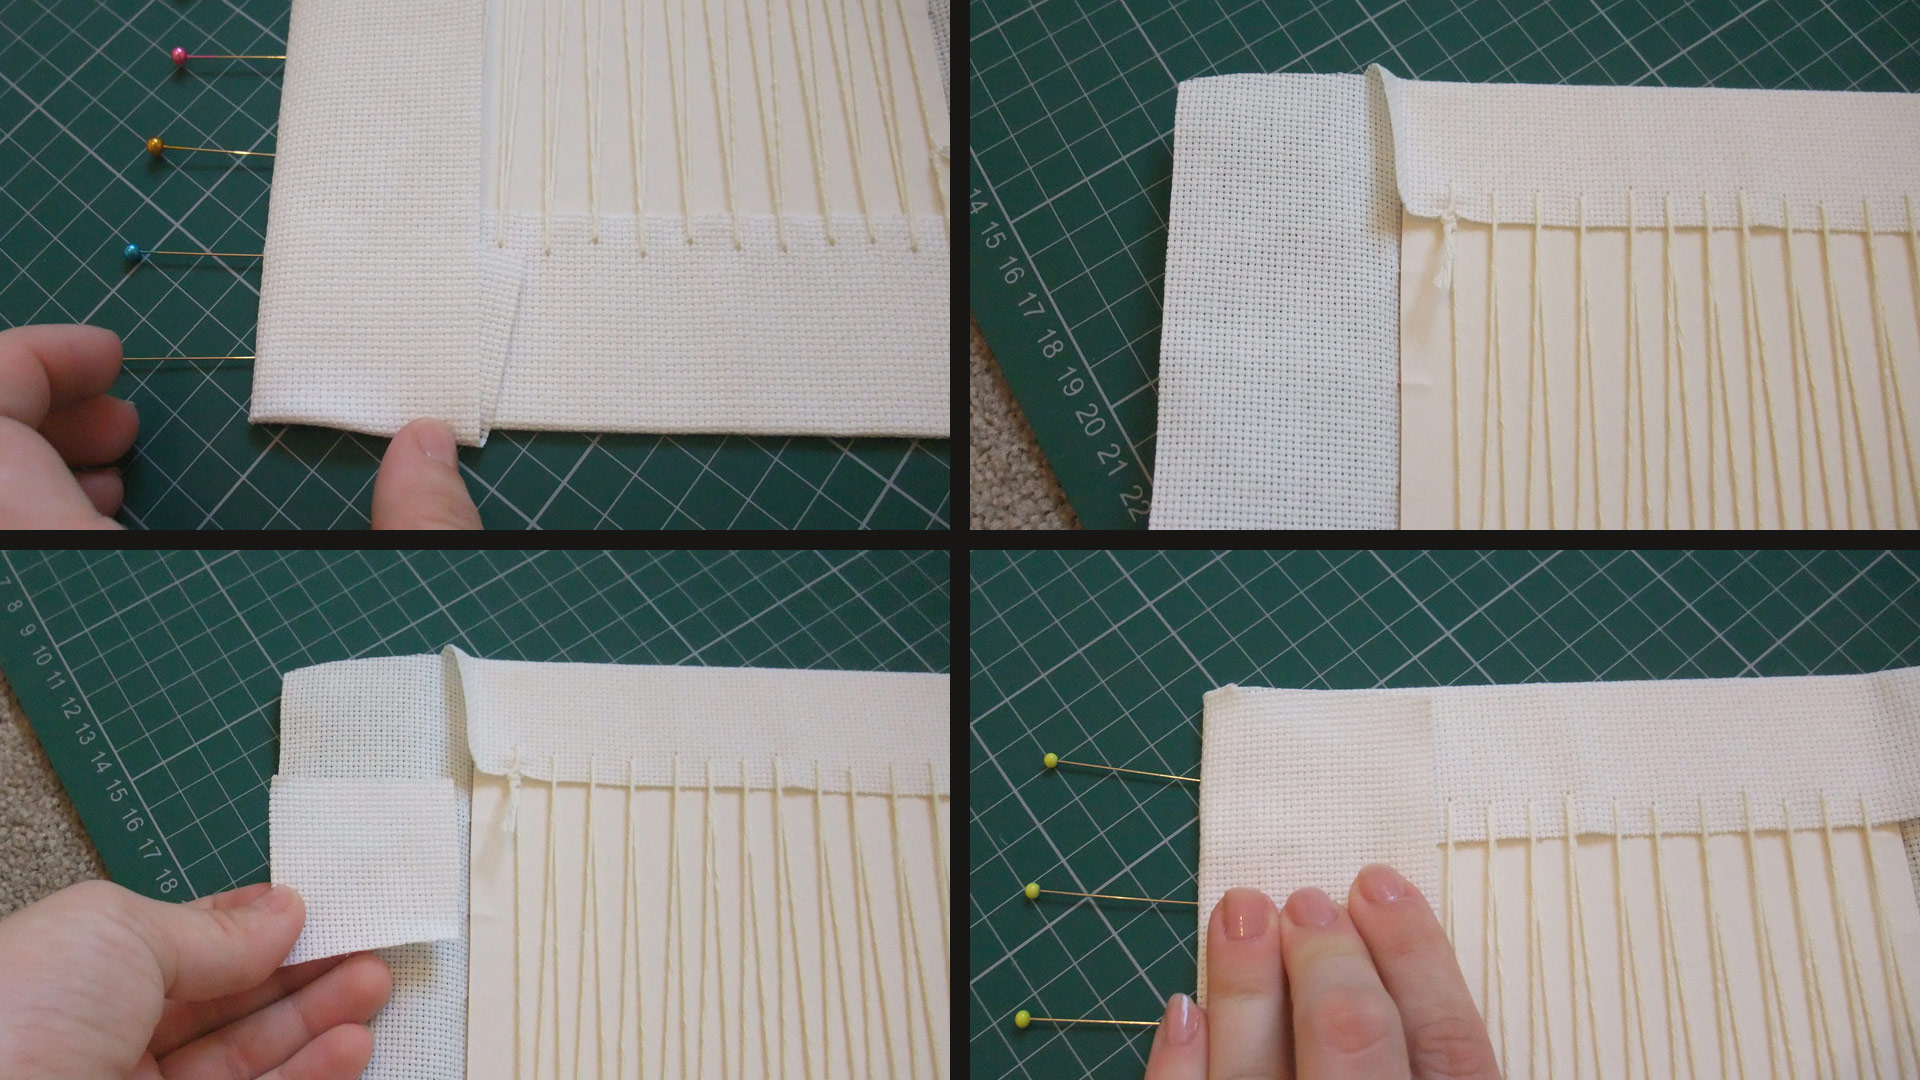
Now for the corners – I have not found better way but to cut them out :(, otherwise the fabric is too massive in the corners and it slips and slides everywhere.
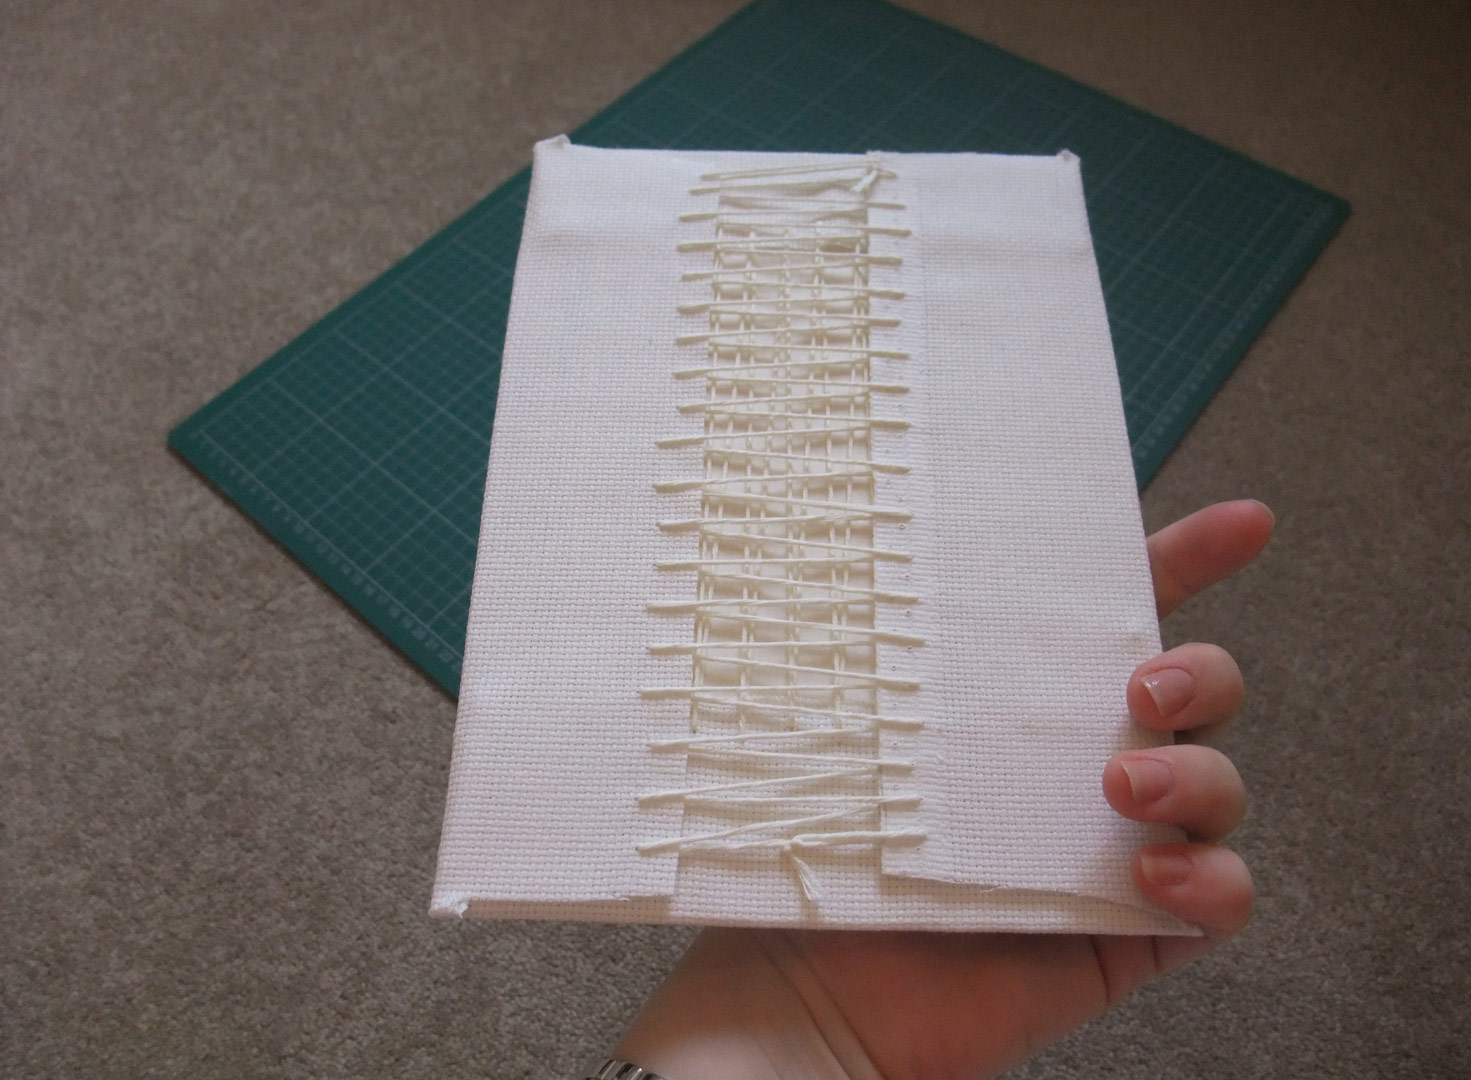
When you have done the stitching the other way the back should look like this. It reminds me of corsets, nice and well laced up 😀
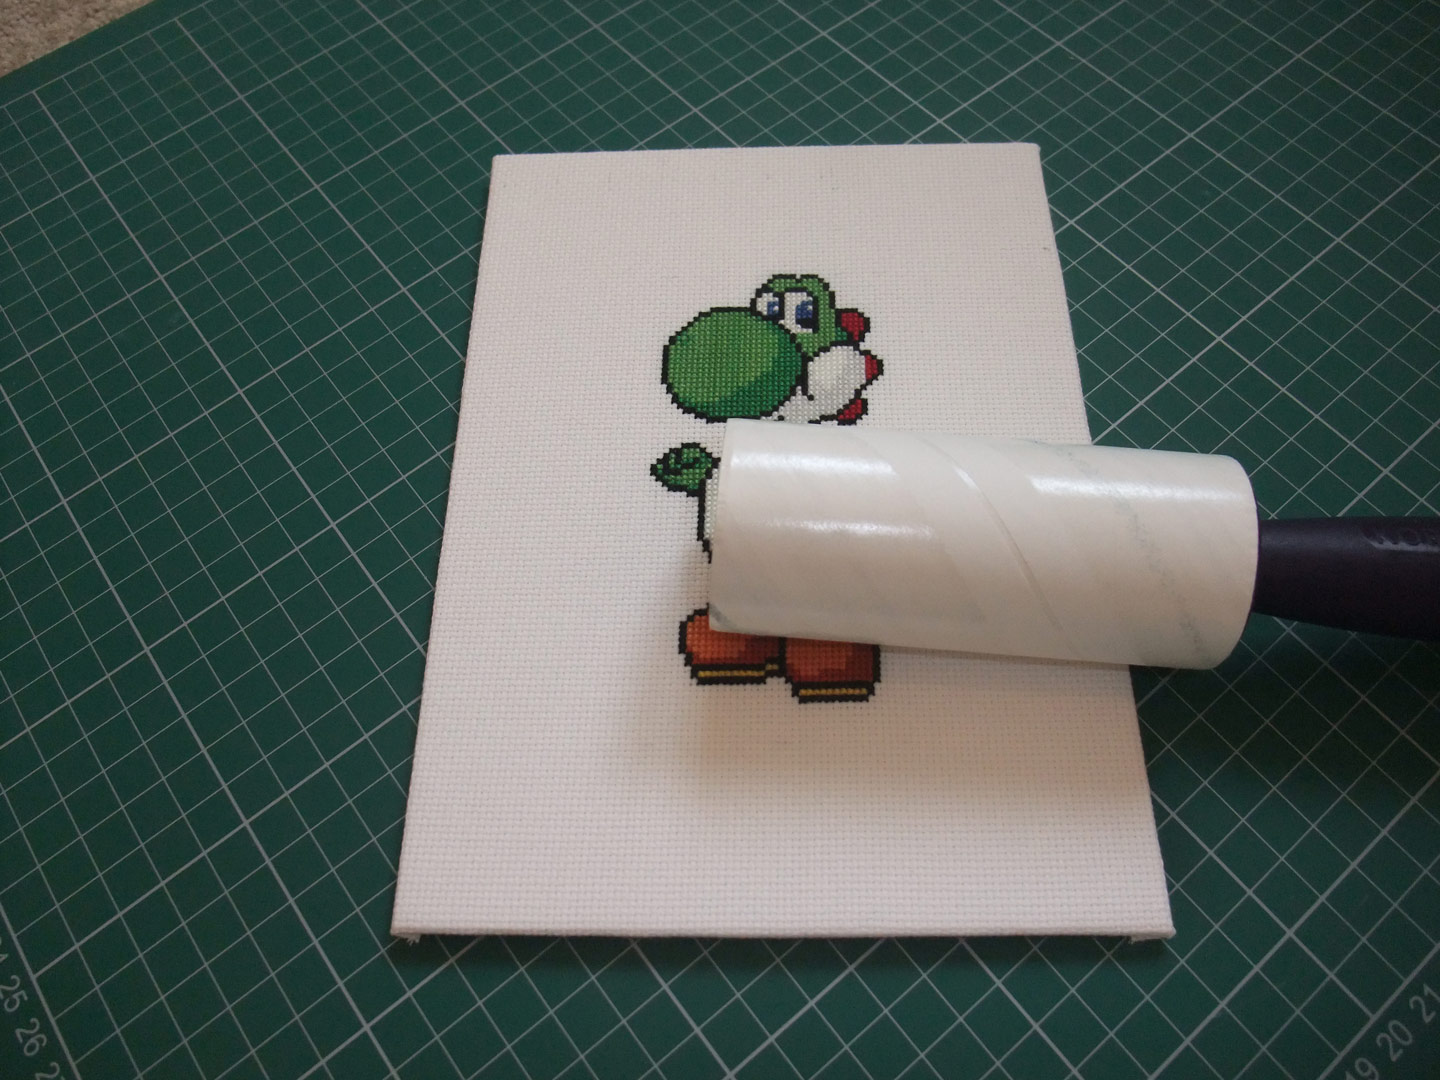
Because i like my stitches perfect – I do a thorough clean up, no thread, hairs, dust or bits will persevere. I clean the frame from the inside too.
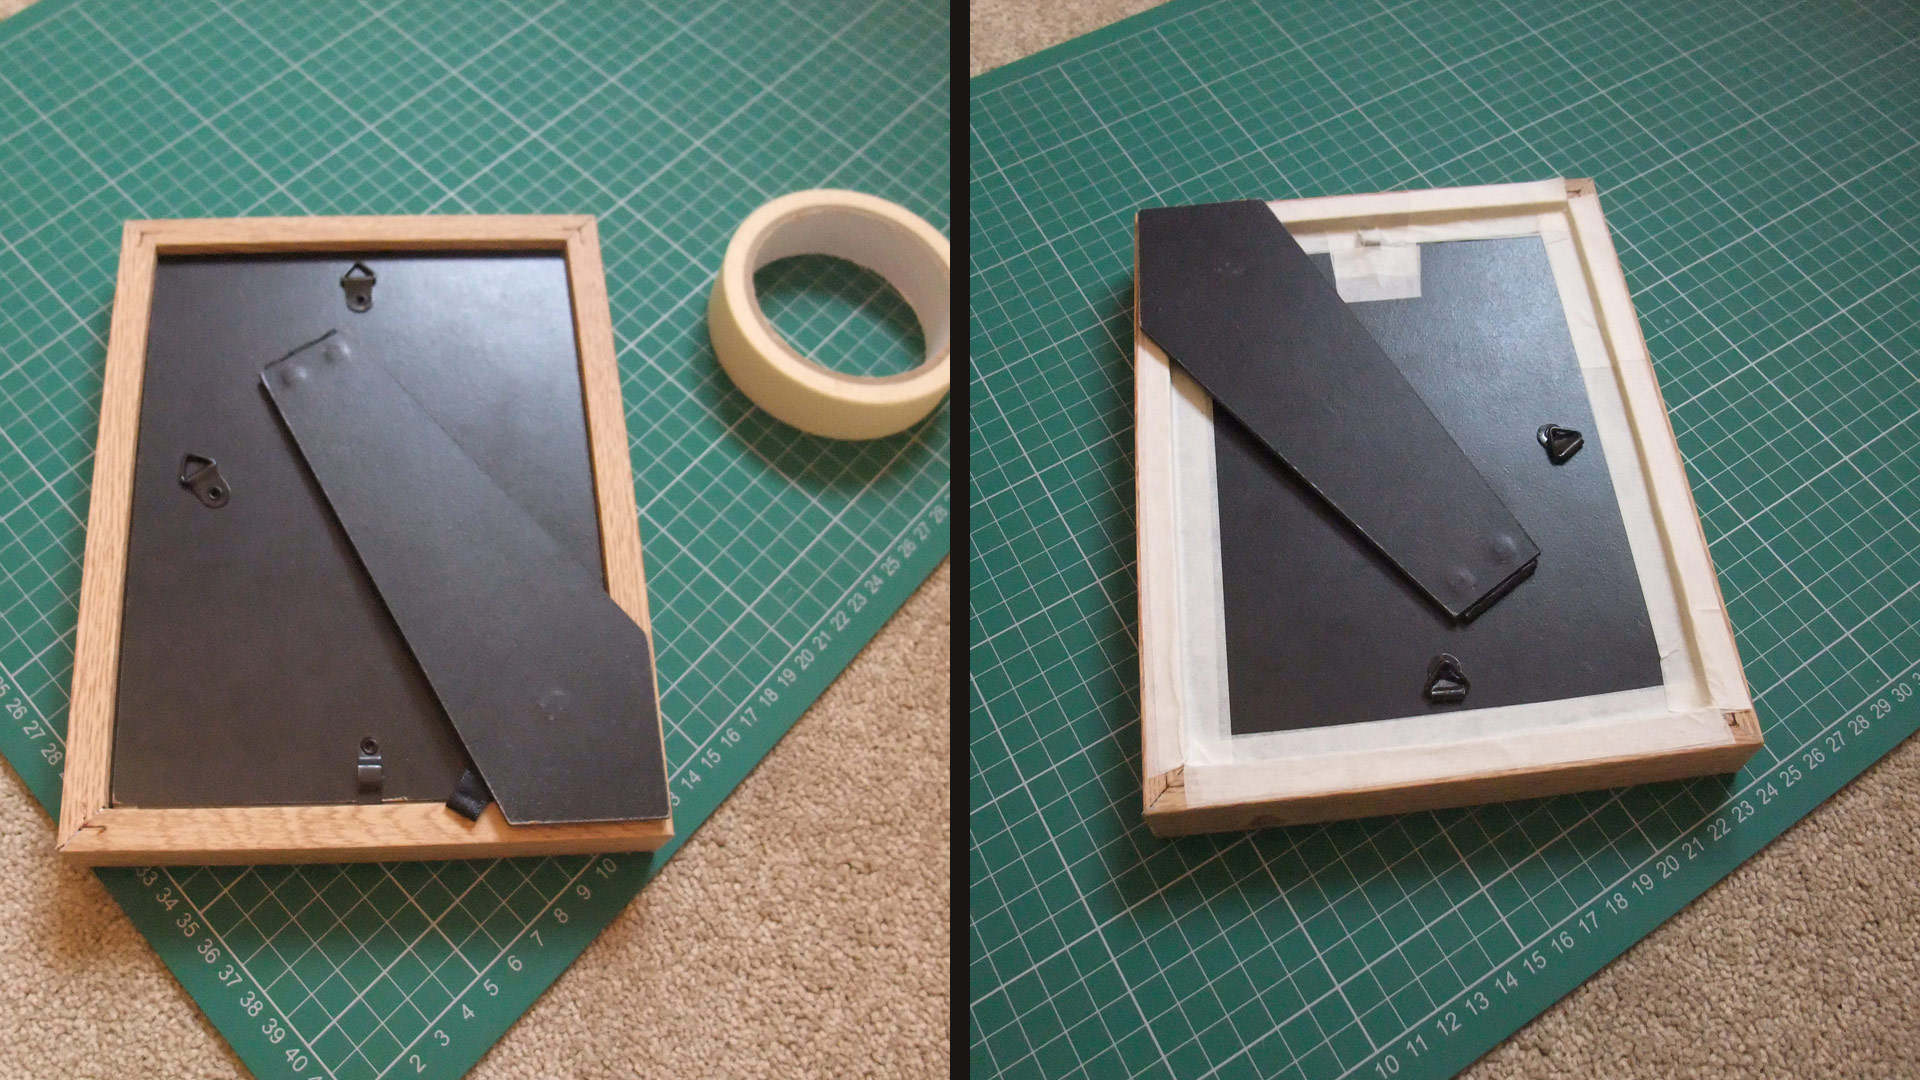
Now that all your parts are here – you can start assembling.
All done – the last touch is the masking tape on the seams, so that the dust doesn’t get in. It will still get there, but your cross stitch will last a lot longer, cleaner.
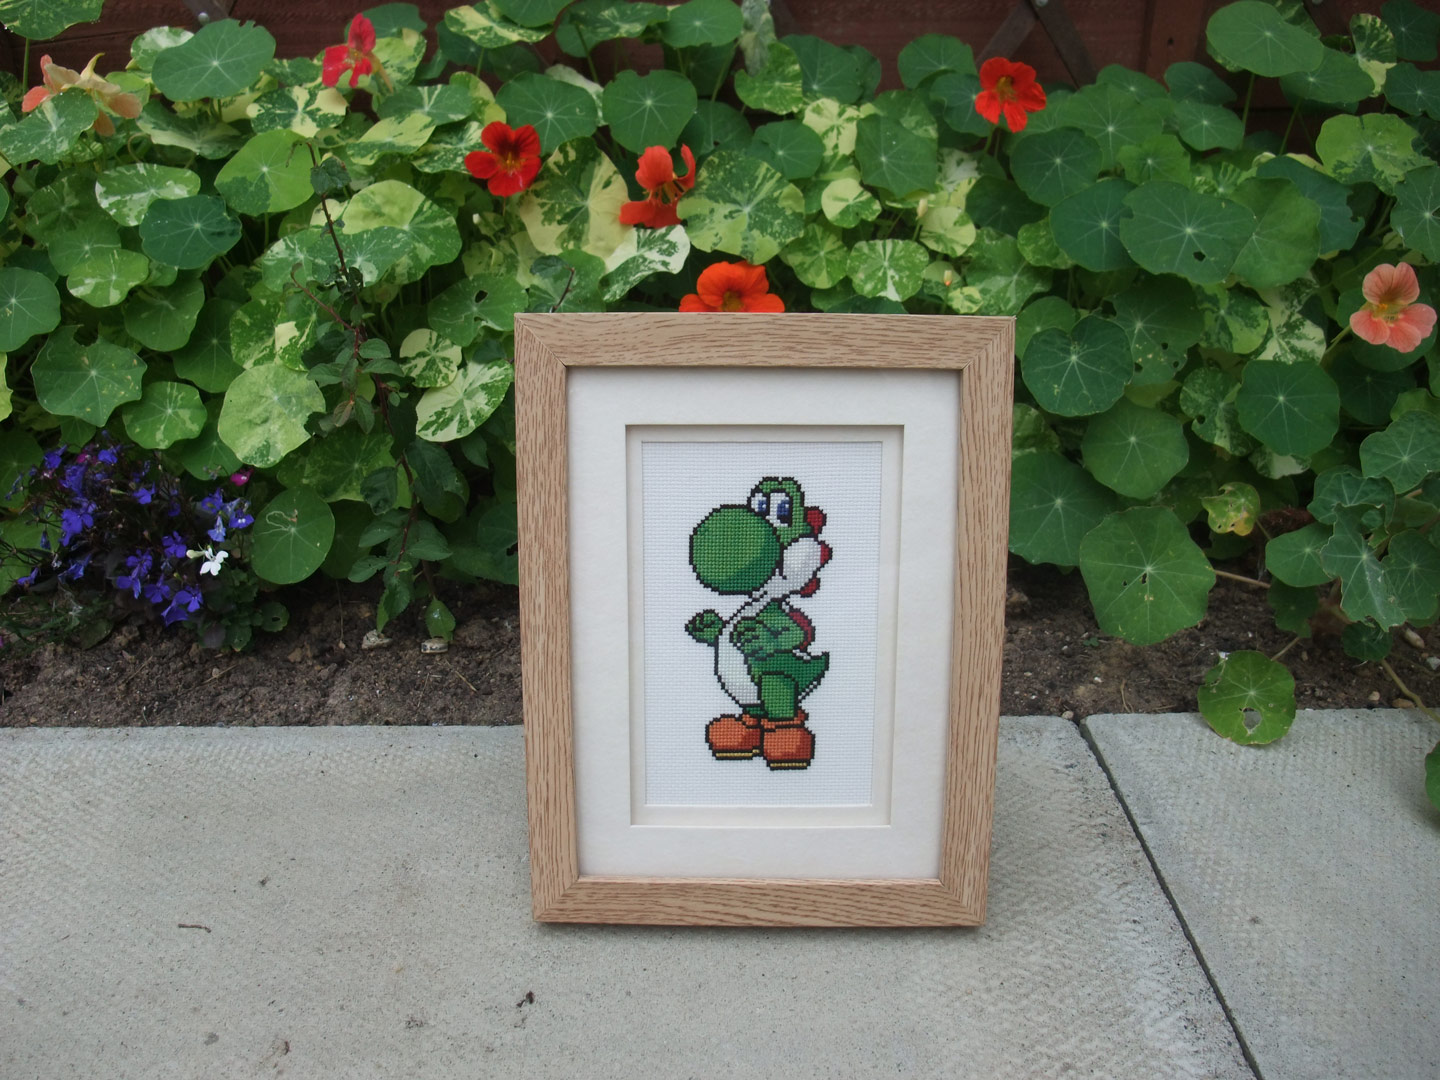
And now we are all done! Perfect! Cloth is tight, no crinkles, no dust or hairs :D. I hope you liked the tutorial and that it helped someone at least 🙂 Happy framing!
Hey thanks a lot!
You are welcome! 😀