Pillow making adventure
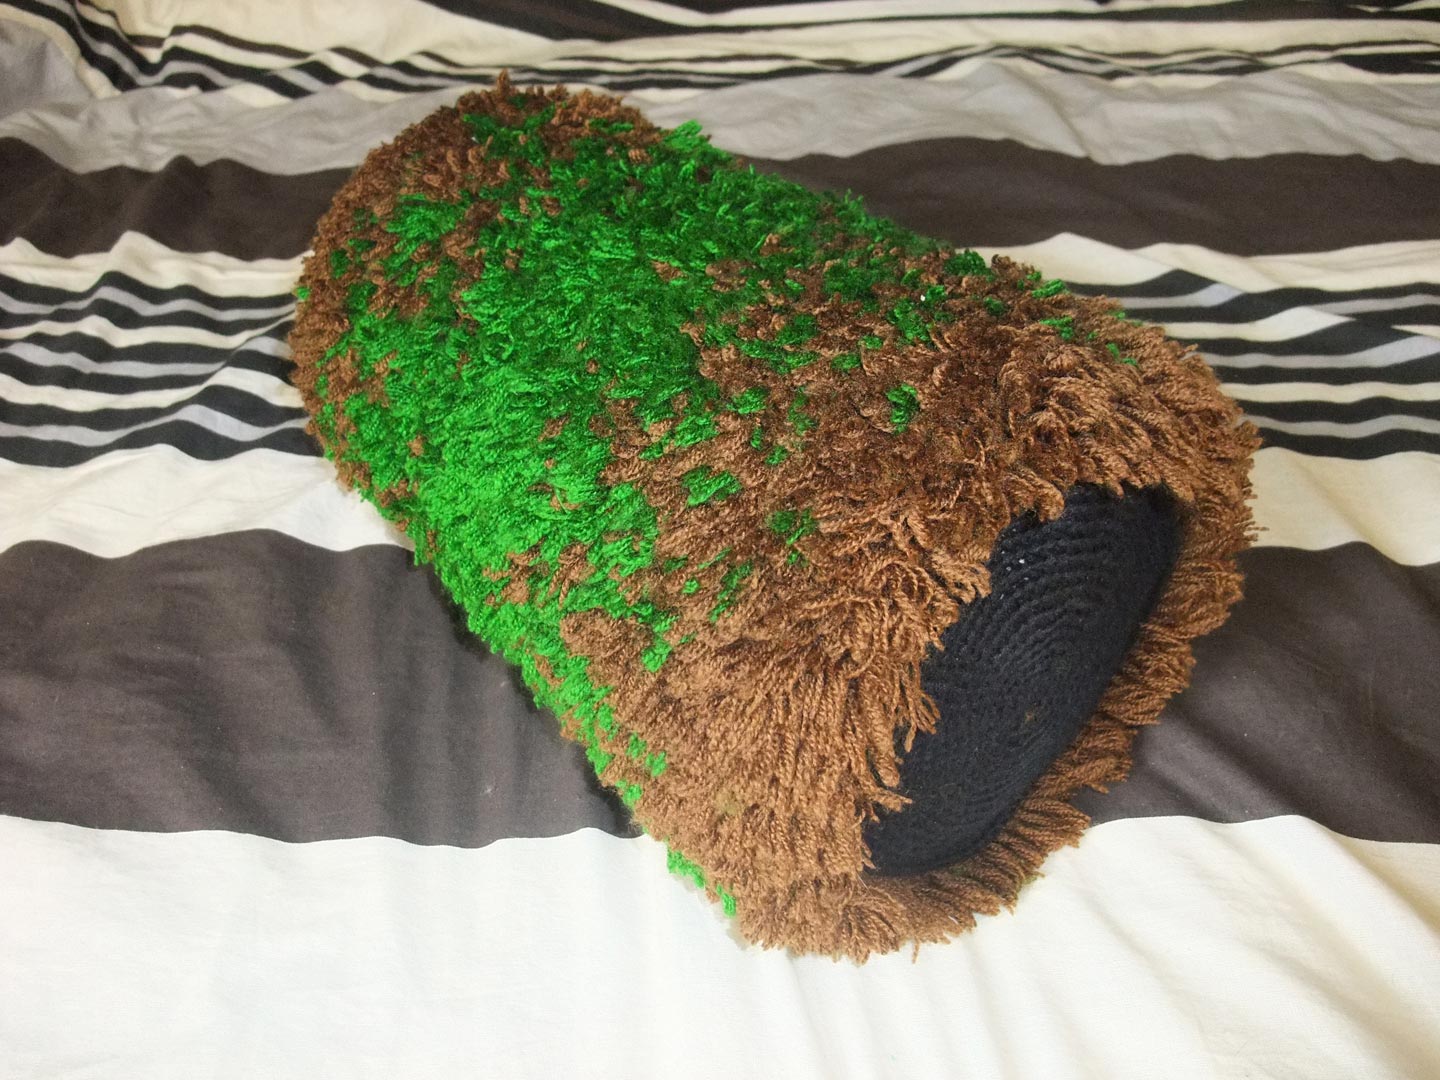
I am going to start this post by showing off the end result (taken using a reddit-friendly photography method).
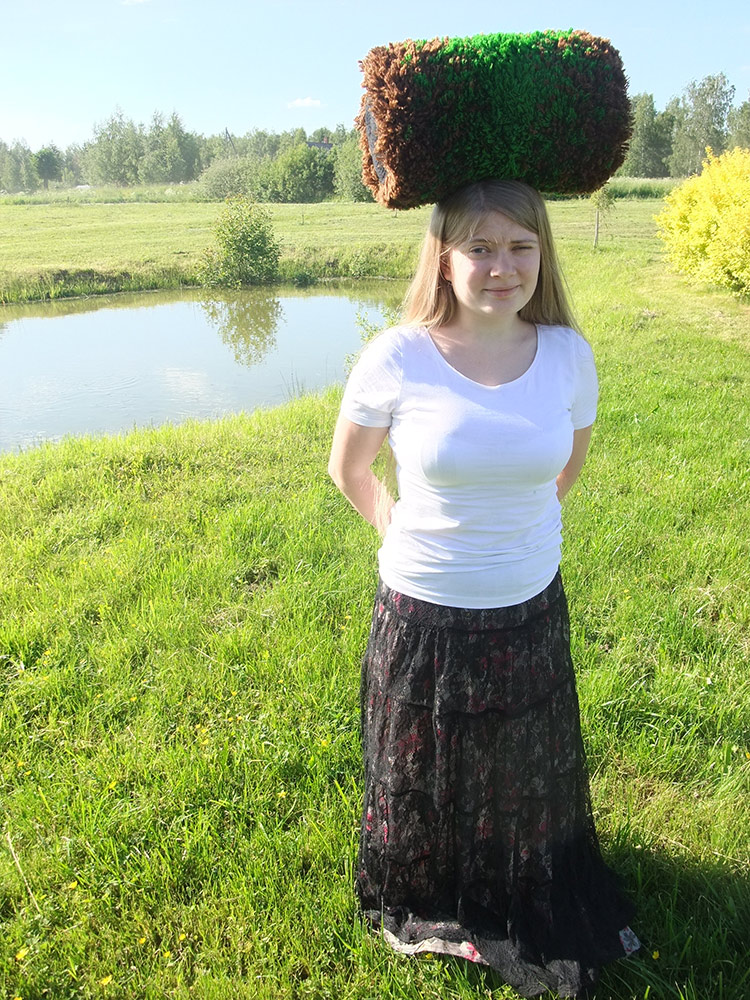
As I am playing Diablo 3 at the moment my post will be dedicated as an epic journey into abyss with four acts. One of my best friends has a birthday on the 13th of June, but as I can’t afford to give him Diablo, I made him a pillow to cuddle and cry with, alone in the night.
Act 1
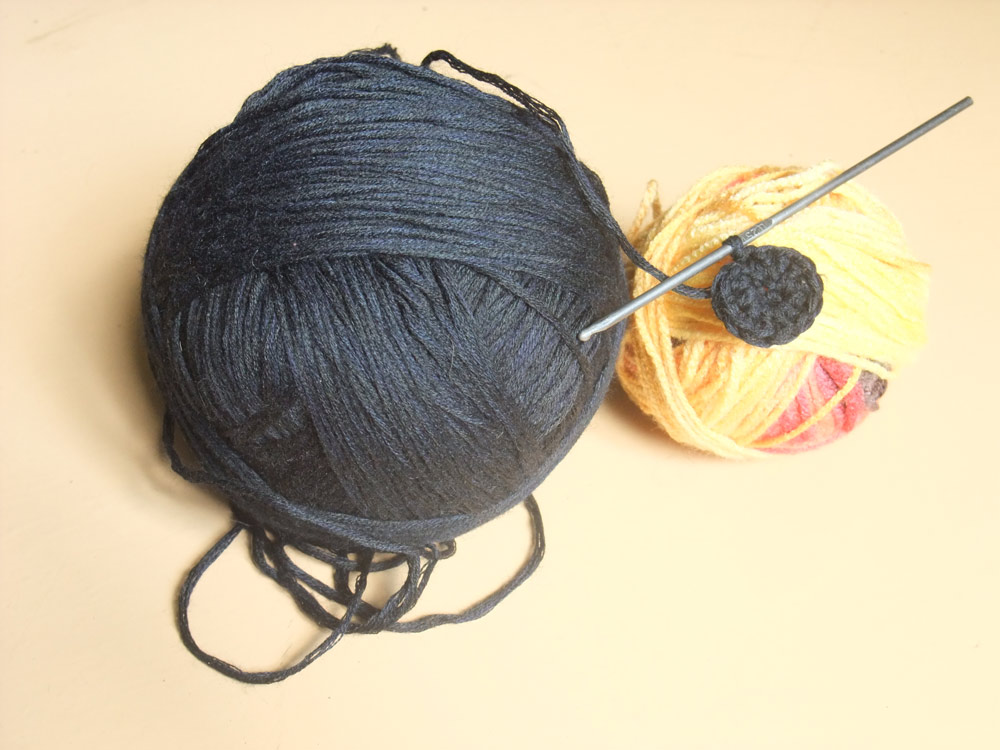
The first task was to make the outside – the decorative part. I chose a black half-wool thread as my base. The method of making – crochet.
Starting with 5 single loops I gradually grew the circle. The second layer is made of half double crochet (two in each hole). The third – two in one hole and then one single (without doubling). After that the pattern just continues the same way with each row increasing the gap inbetween the doubling. At around row 10 I started to do just a single row completely without doubling (with next with doubling again).
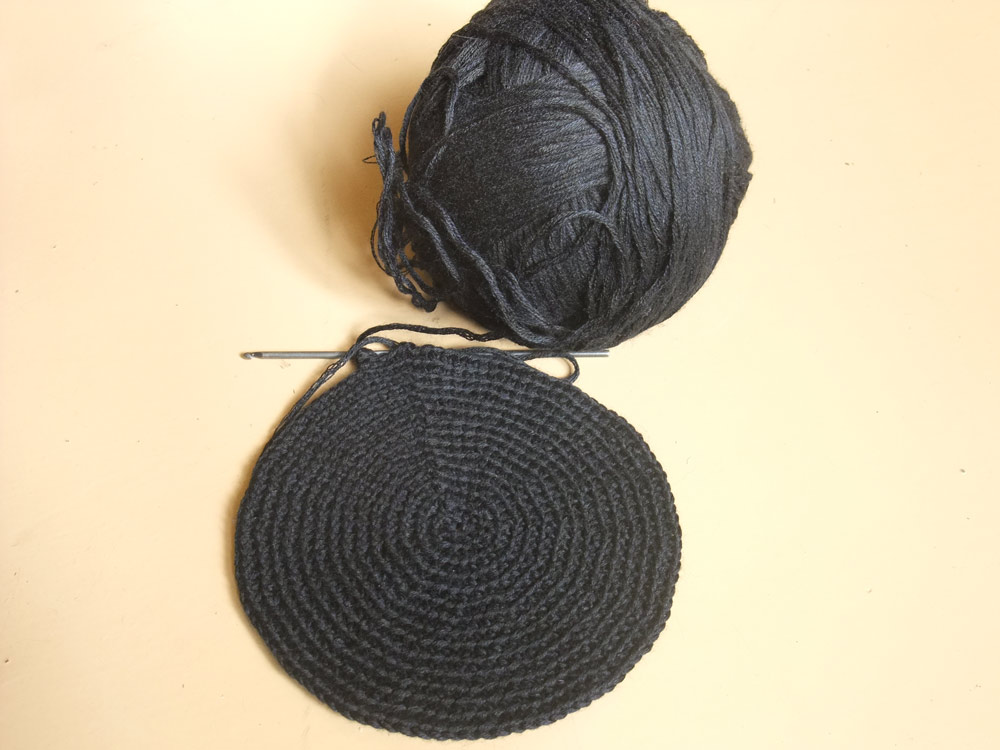
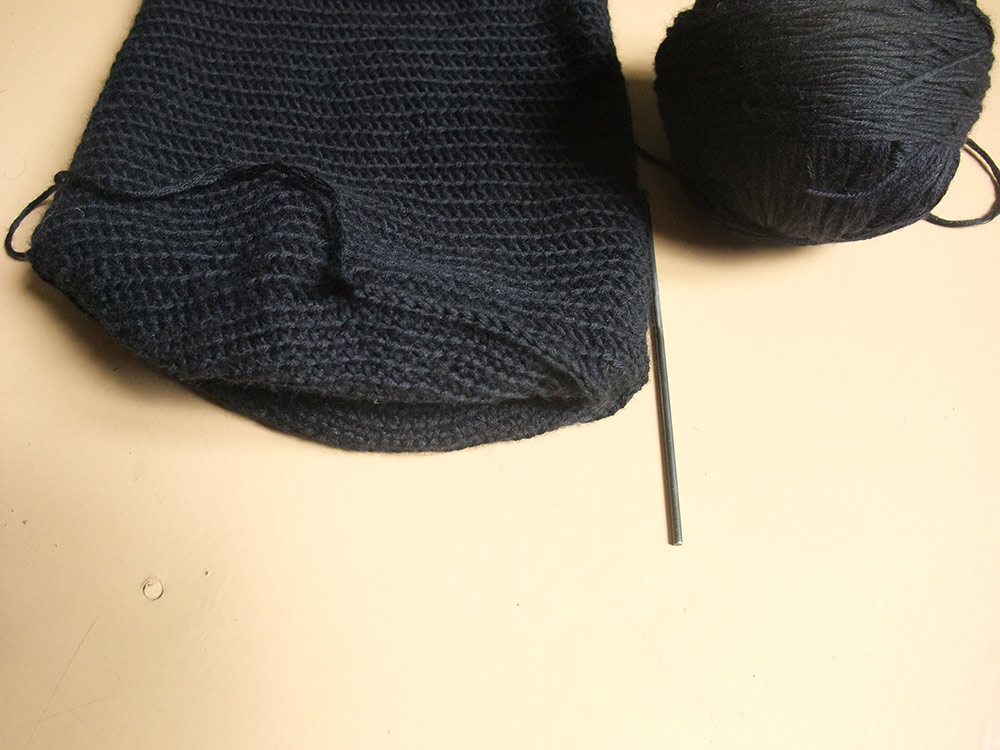
When I decided that the bottom was big enough, I started to do the edges which are double crochet without any doubling. As you can see below it made quite a cute cylinder.
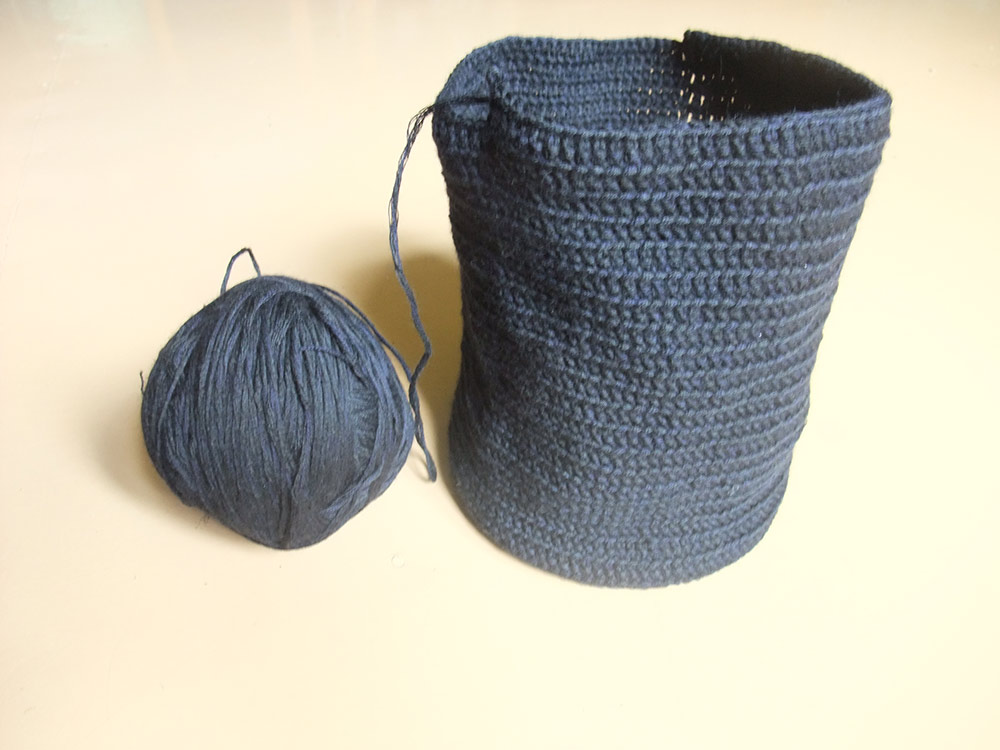
I then made an edge of single crochet, so that I would know where the end was, and as you can see it’s much more aesthetically pleasing to the eye with a sharp edge on the bottom of the cylinder.
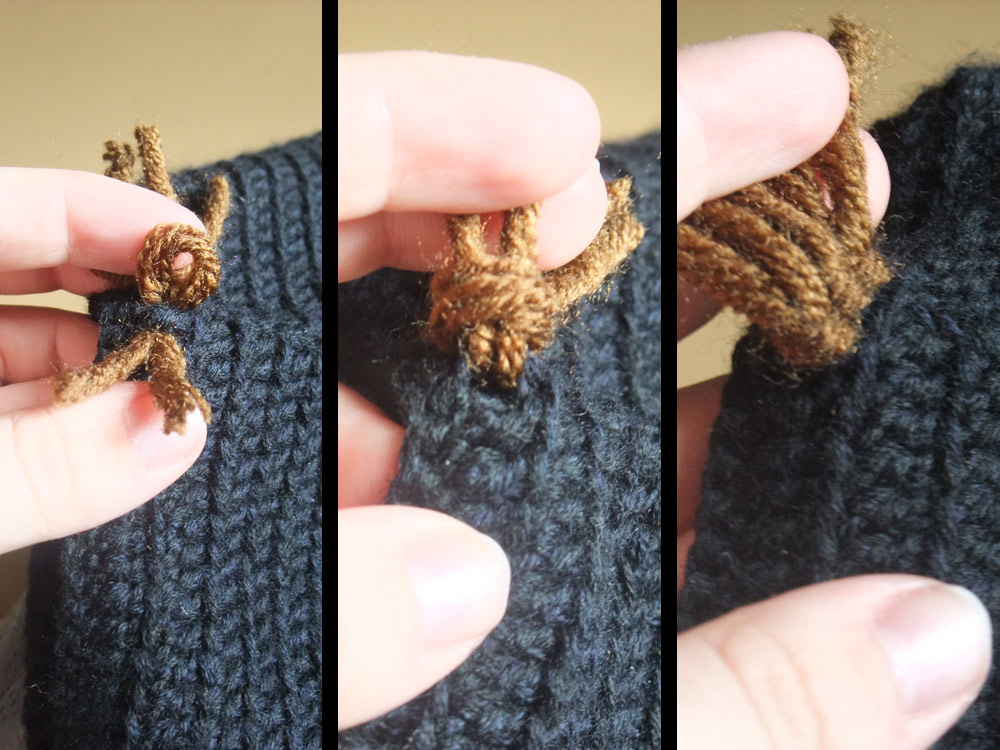
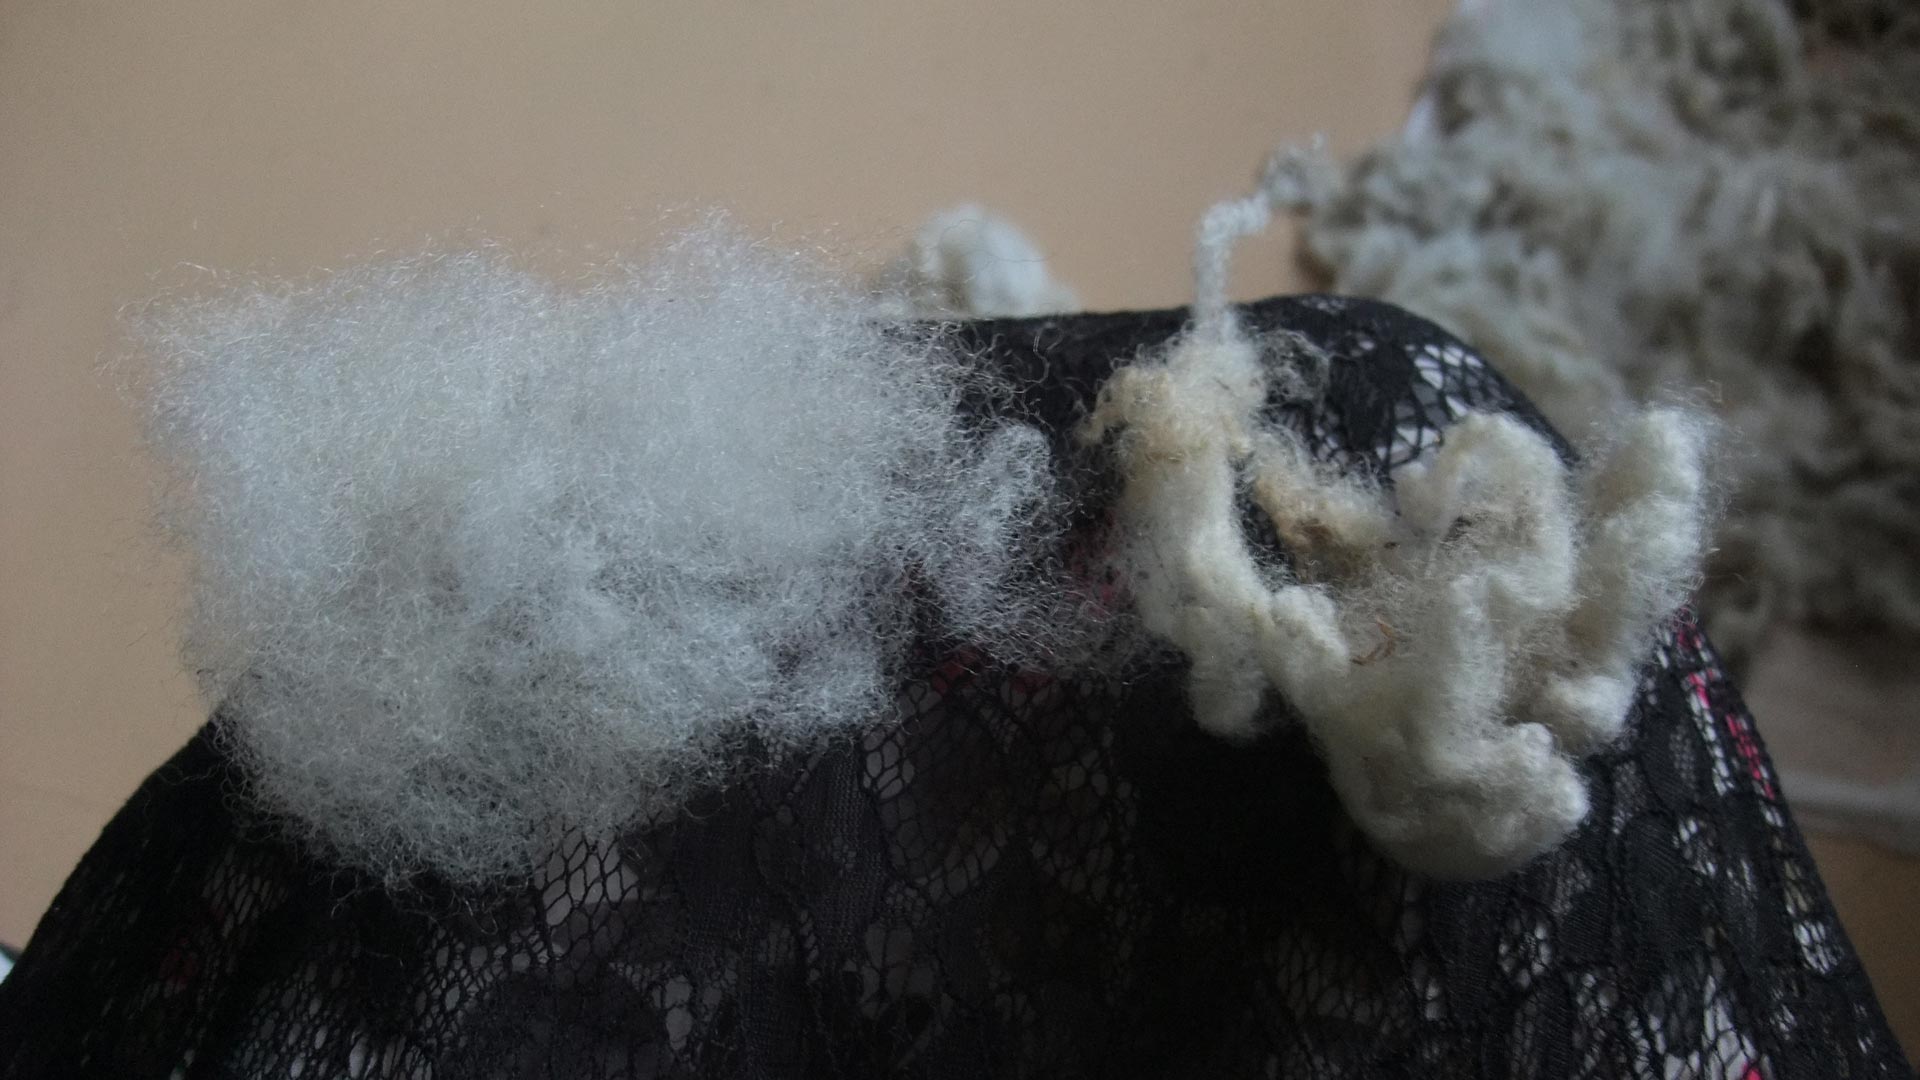
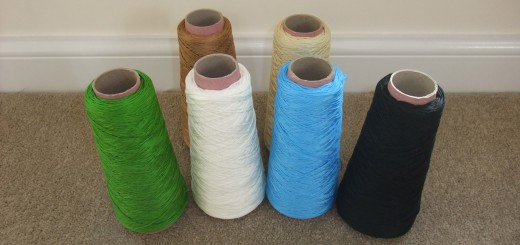
Next step – deciding the colors of the fluff. After some decision making I chose the green and the brown ones. I cut them into about 10cm (3.9 inch) long sections.

After which came knotting. Here you can see the easy and quite fast knotting method I used (especially fast if you use a crochet needle).
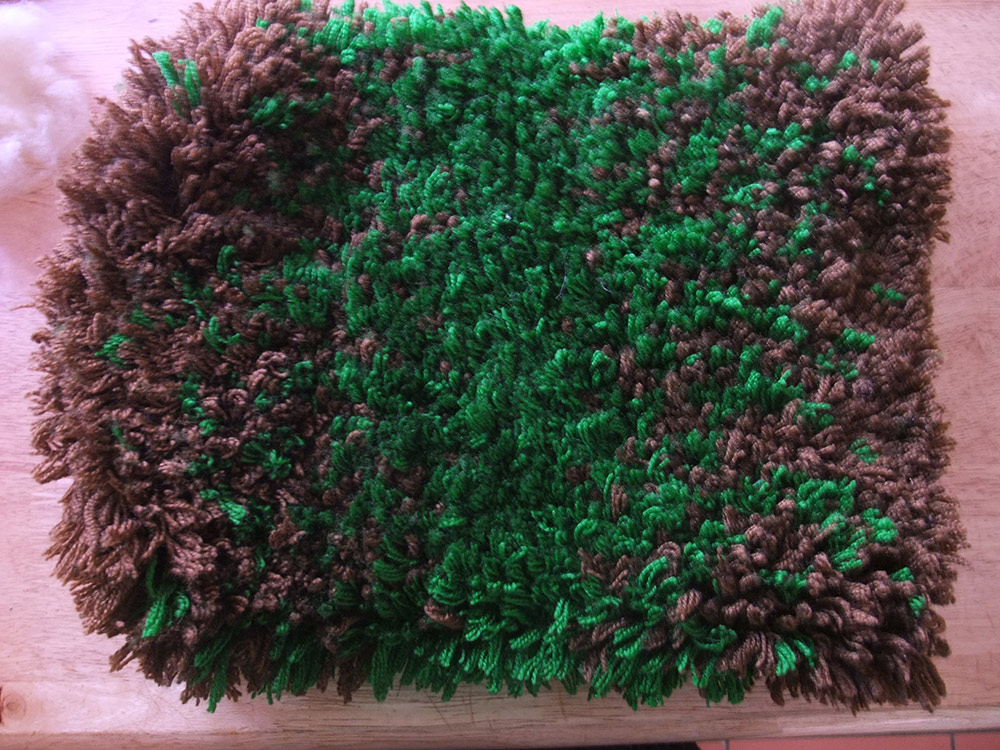
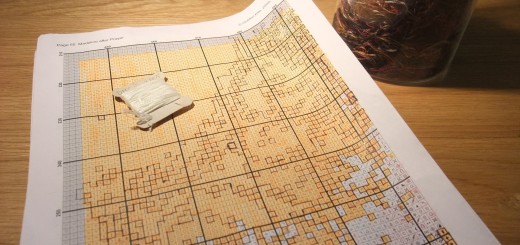
My husband made a program to randomise the pattern, so that the brown would seamlessly blend in green without any visible repetitive pattern. Below you can see the schematics for it. Dot means brown, G – green.

Slowly moving forward on making it fluffy (my husband has just advised me not to call this “fluffing”). As you can see the green and brown are blending nicely.
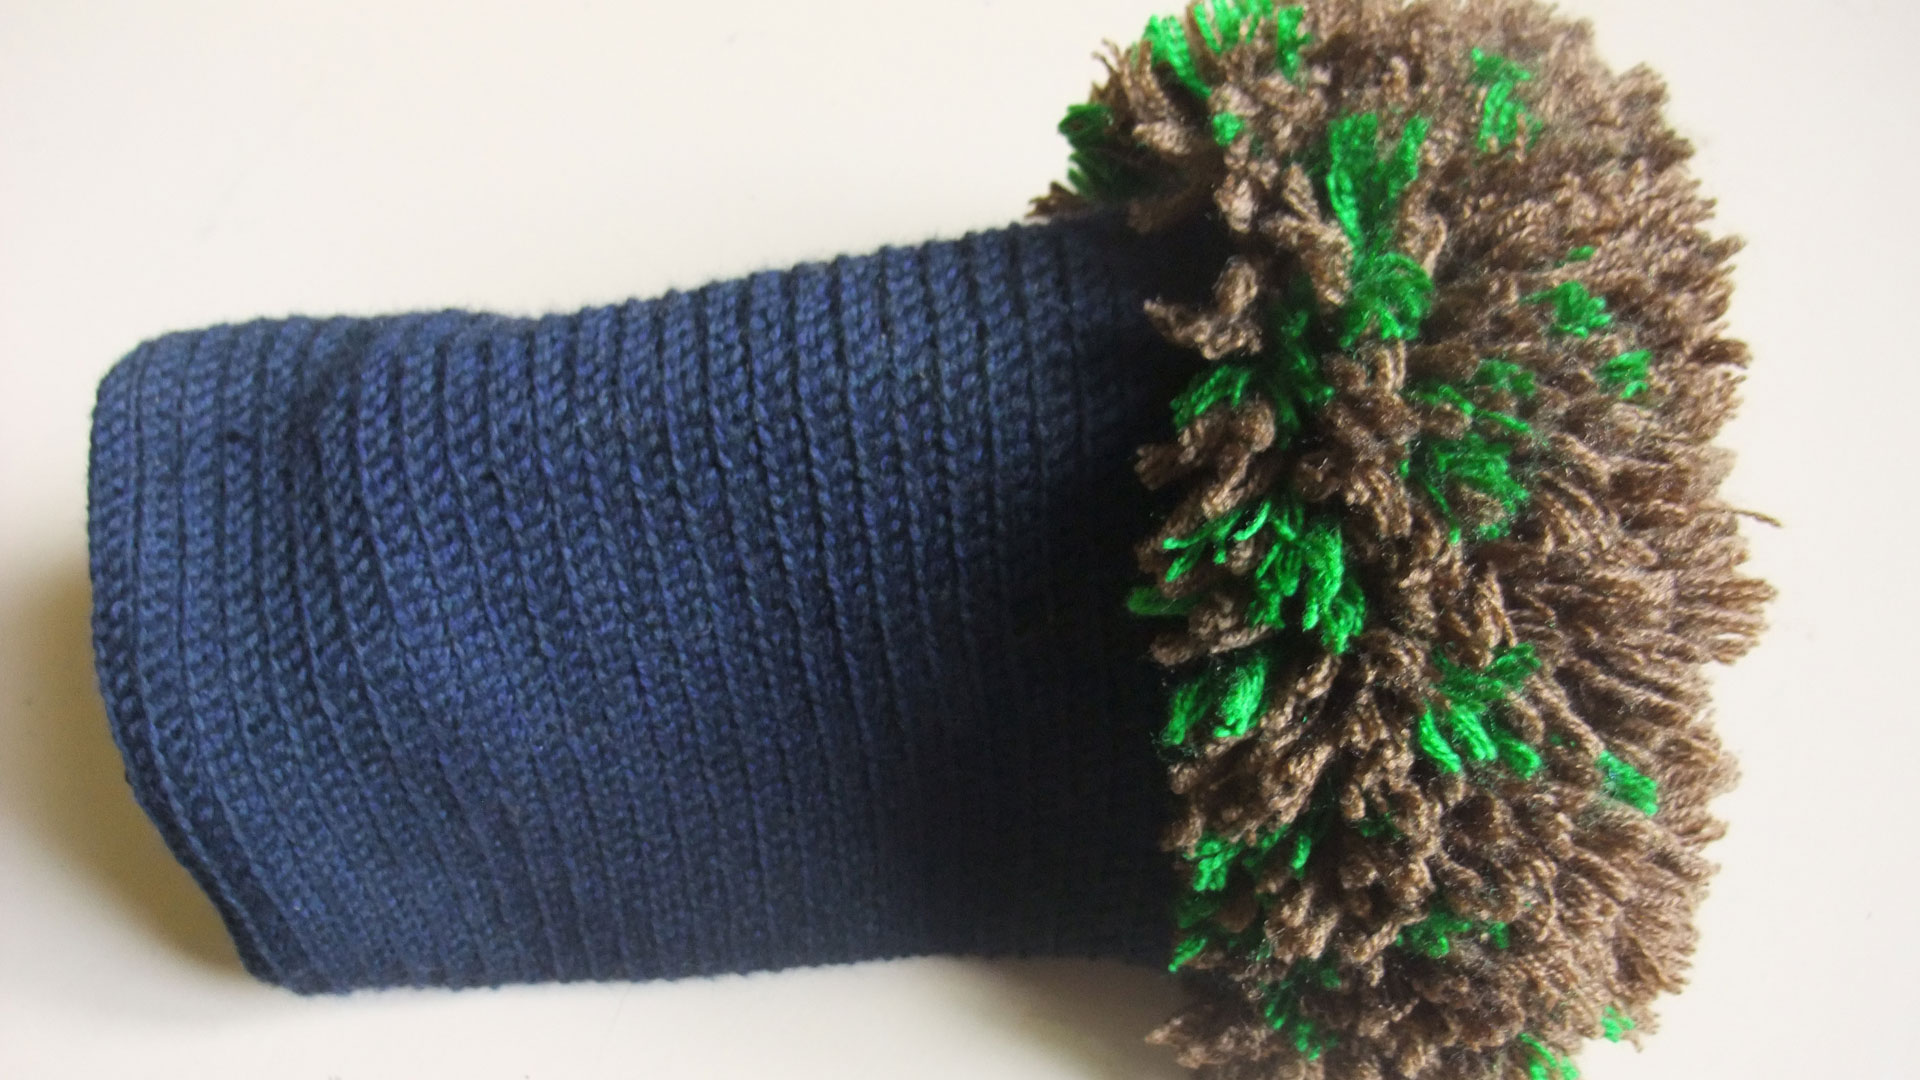
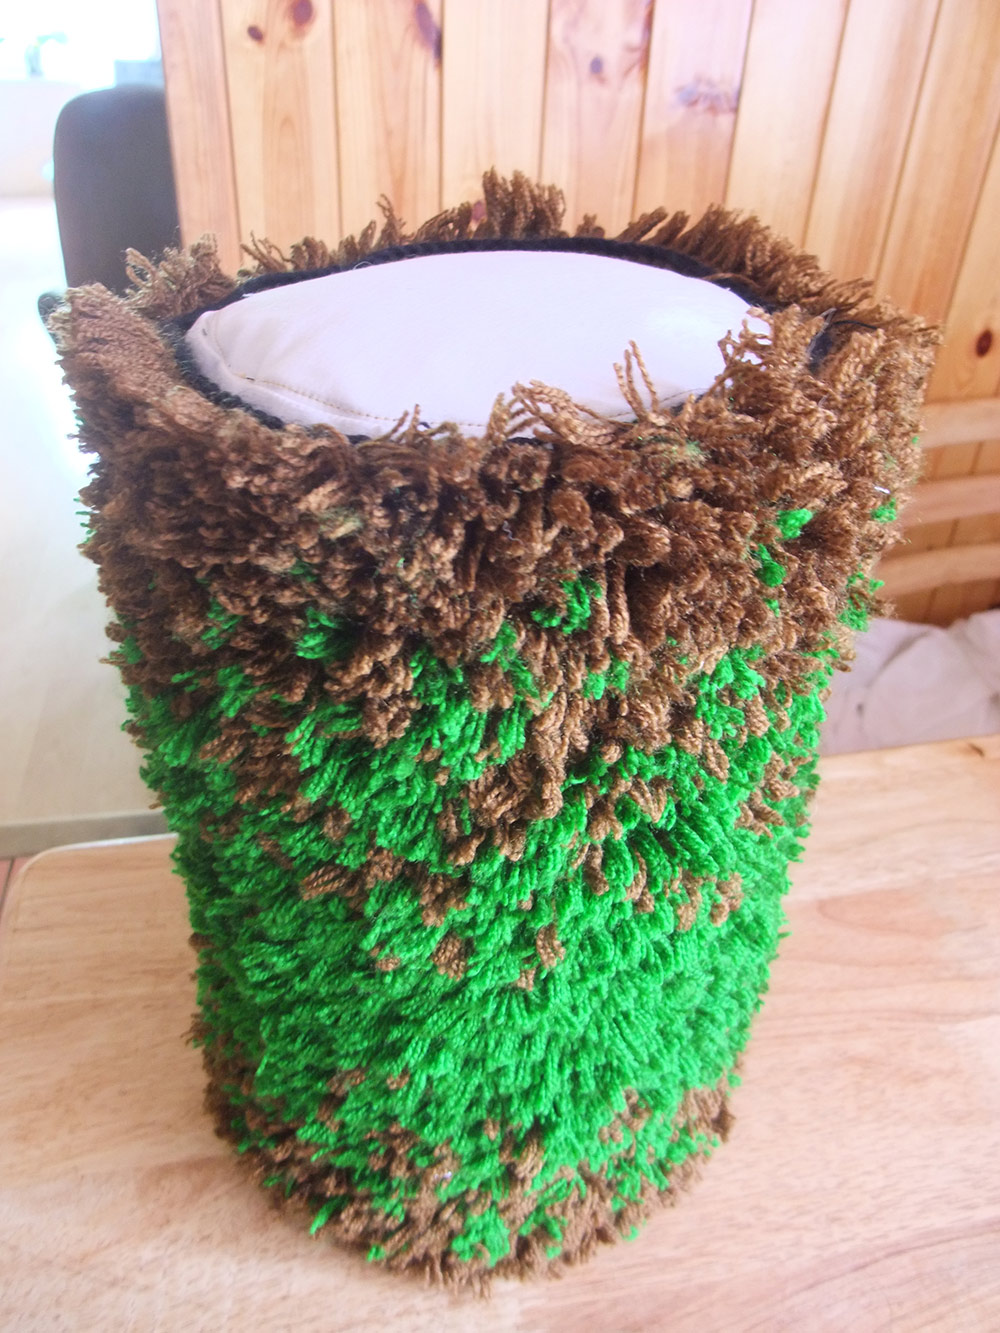
Outside finished. It took me 3 days to add all of the fluff but I think that it work was worth it.
Act 2
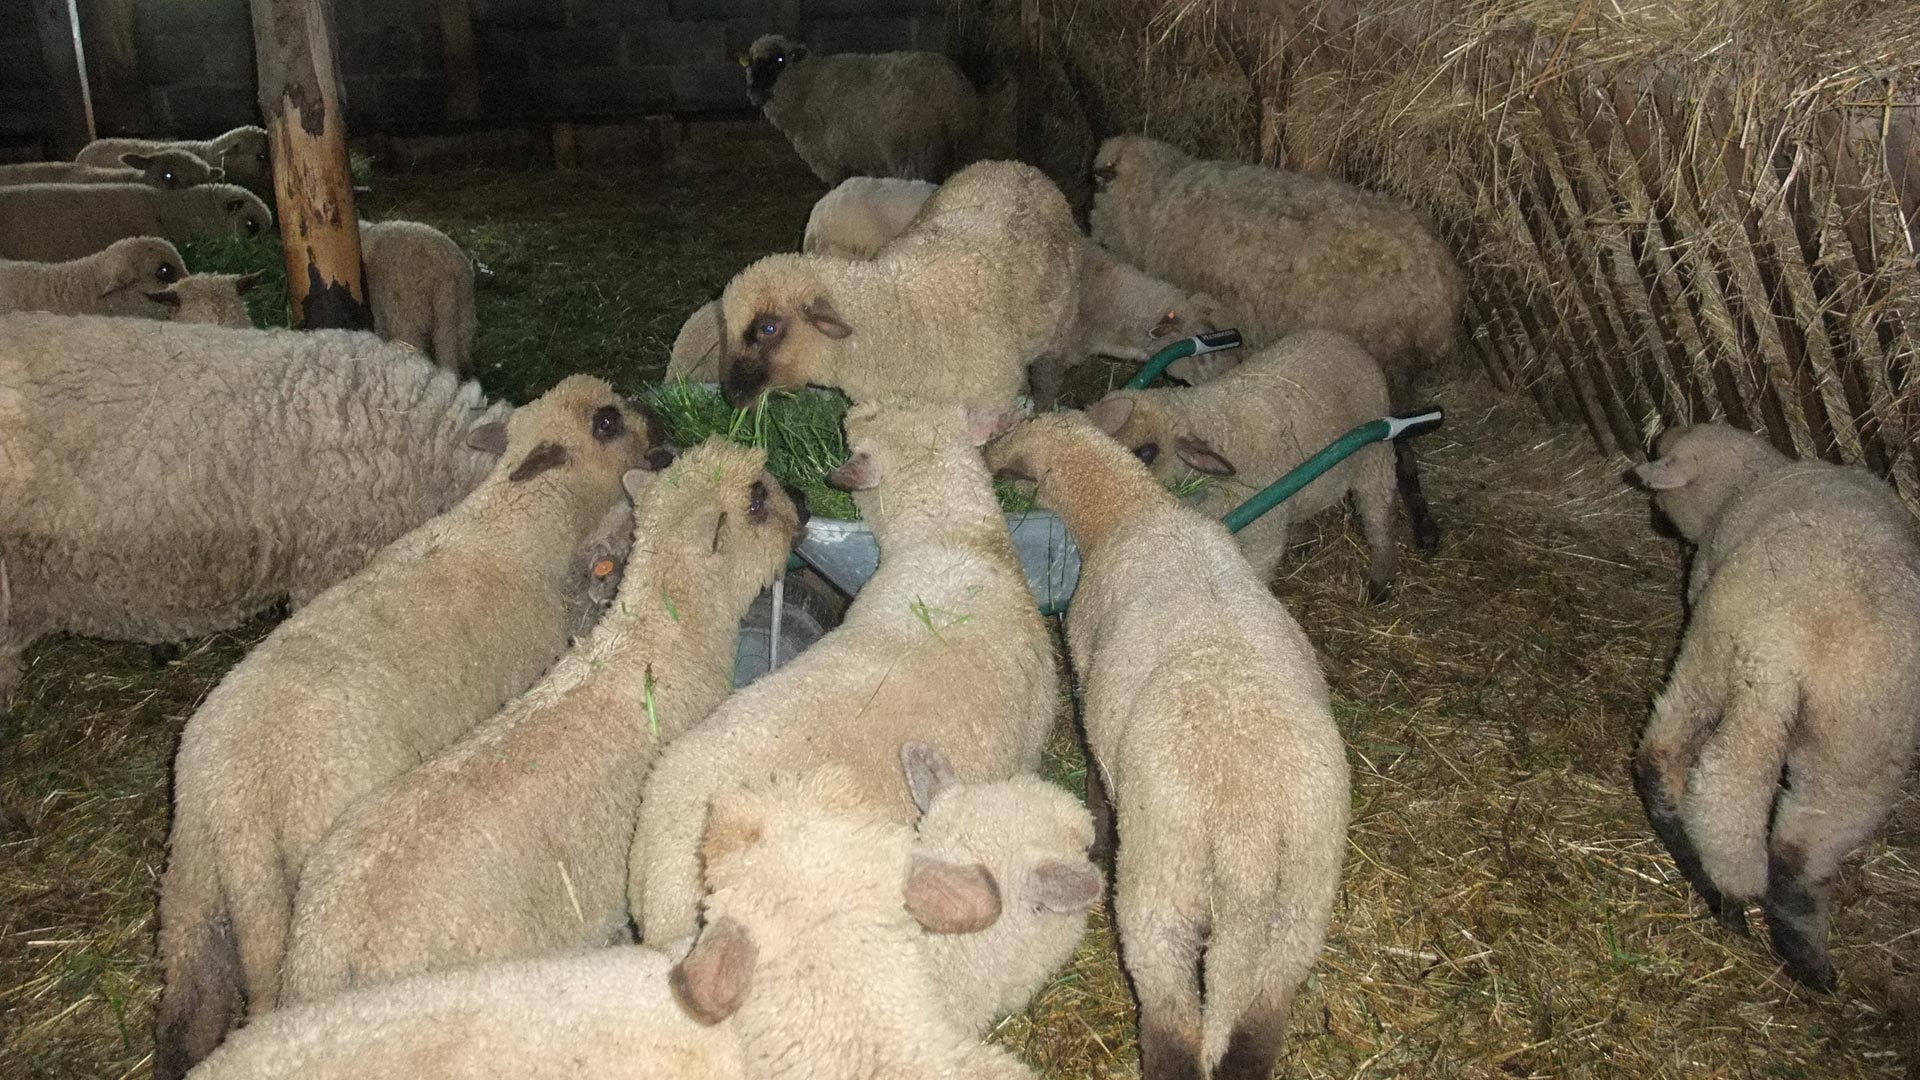
Once I had finished the outside, the terrible thoughts about inside started to bother me. What am I going to fill it with? It took a few minutes of deep thought but I finally settled upon… sheep!!
First task – shave the sheep and steal all of the wool.
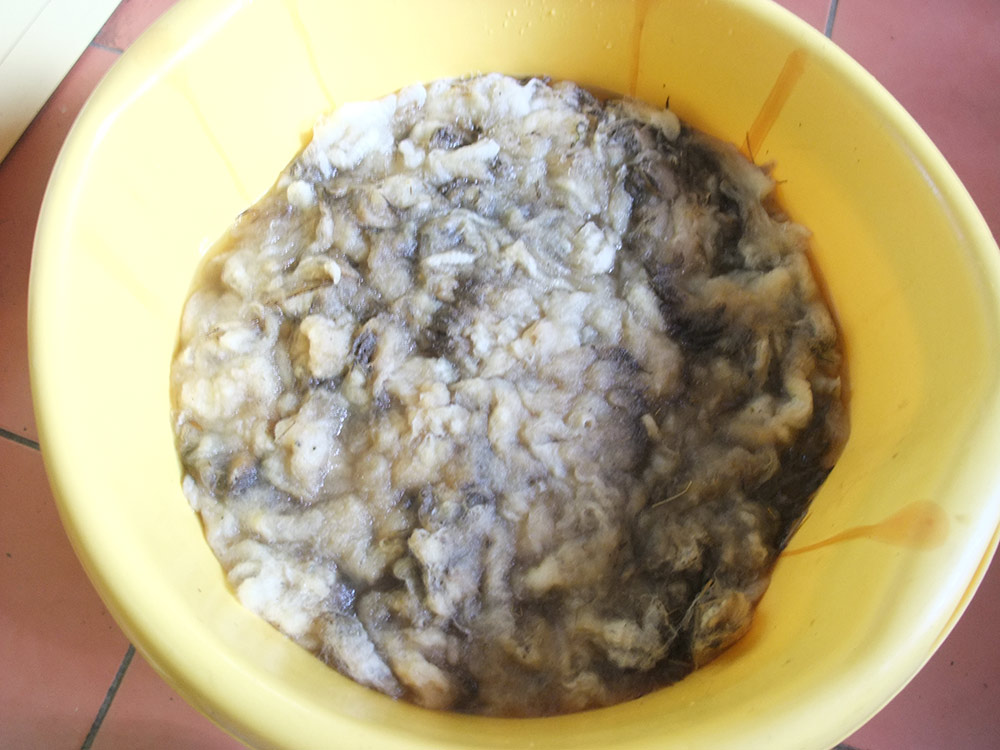
Wool is sometimes dirty, and I mean occasional poo and such (except the cases when you wash the sheep before shaving it). So we needed to wash it.
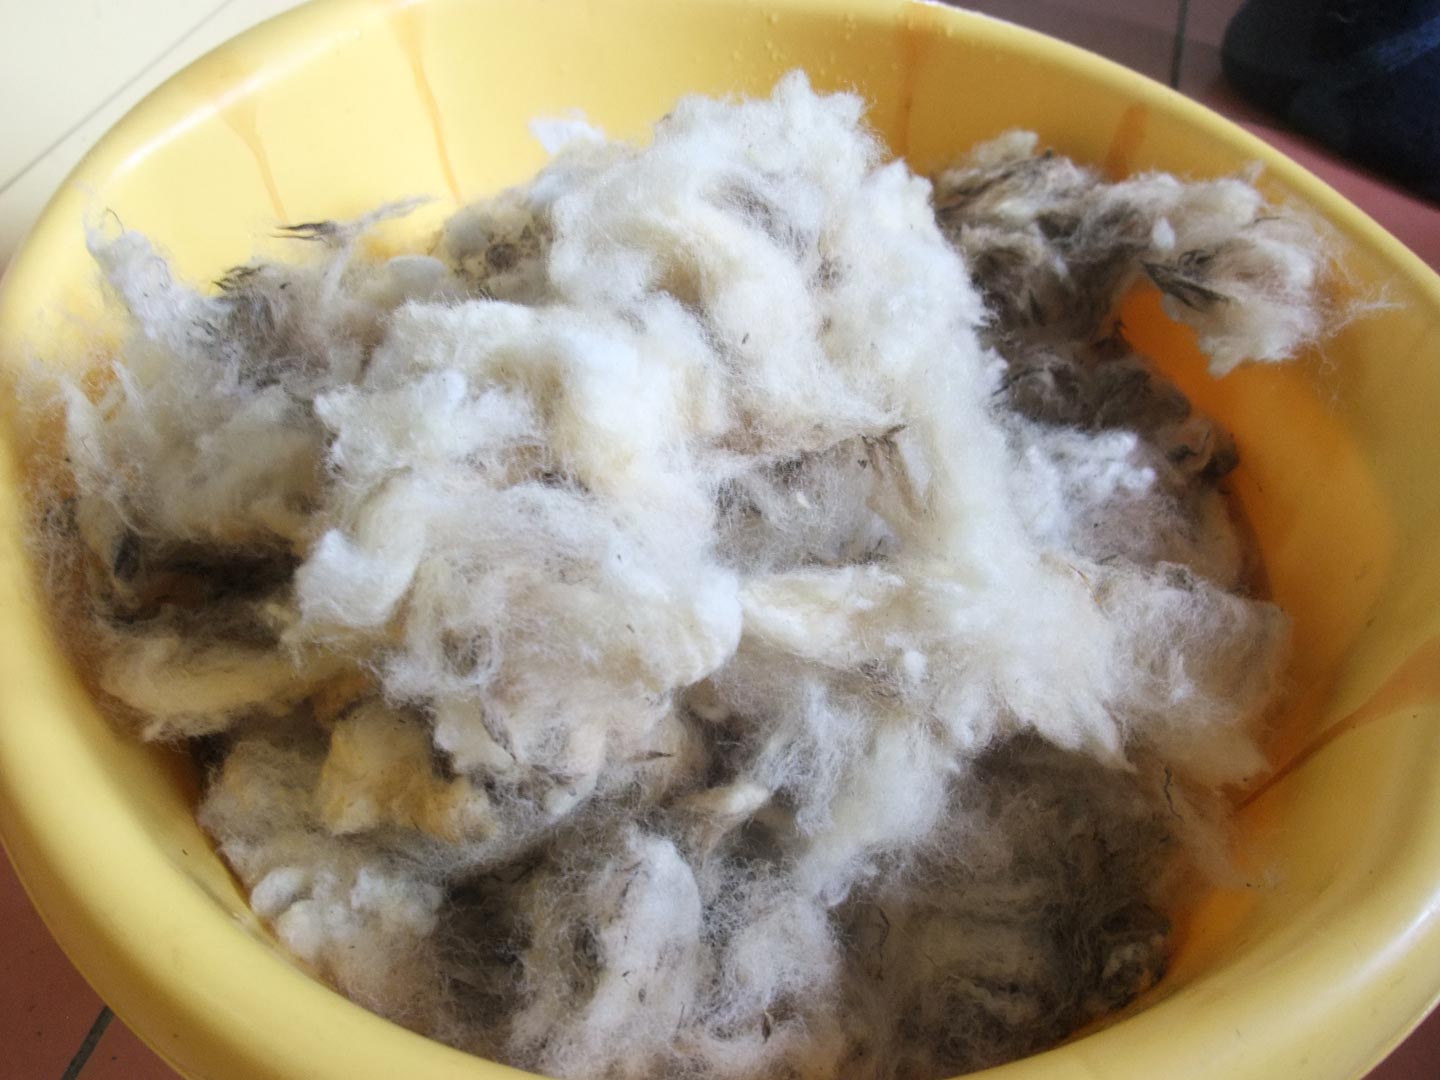
It took me 2 hours and 4 water changes to get this bowl of wool clean. I guess washing in bigger quantities would be more time efficient, but I only needed a small amount. Never wash wool and then pour dirty water down the drain as it will clog the pipes.
Sun drying in the field.
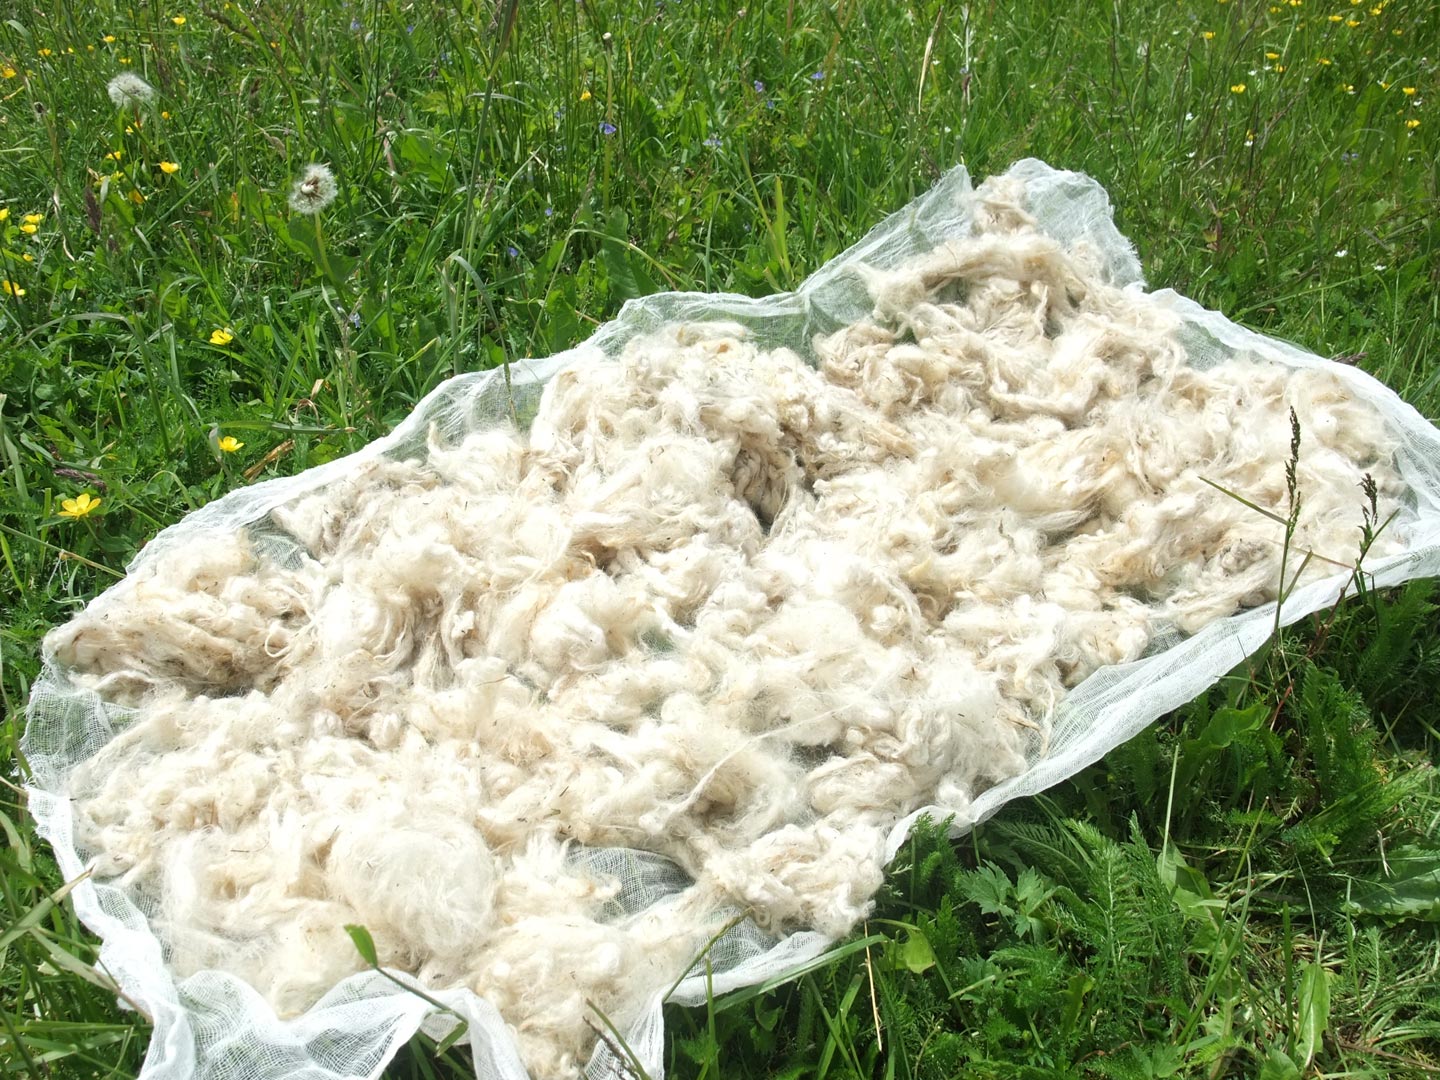
Now dry and clean as you can see compared to the “before” picture above.

“The making of the clouds” a.k.a cleaning out the little bits of debris out of the wool and fluffing it up in the process.
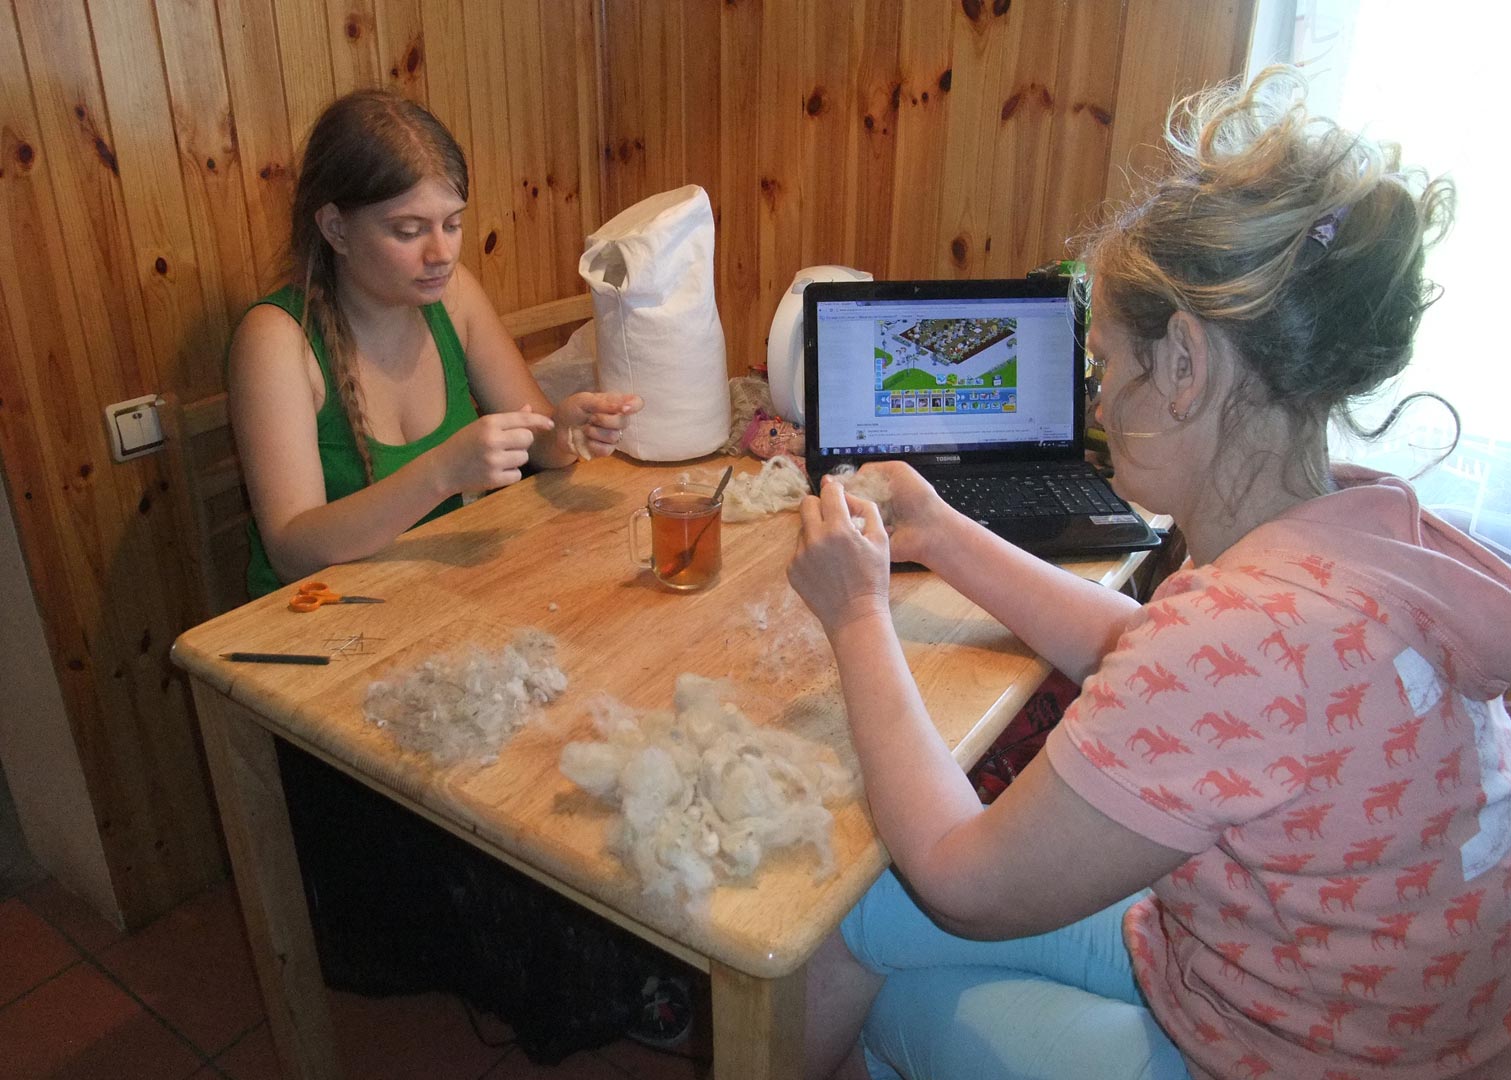
My mother and I de-debrising the wool – who will be faster?
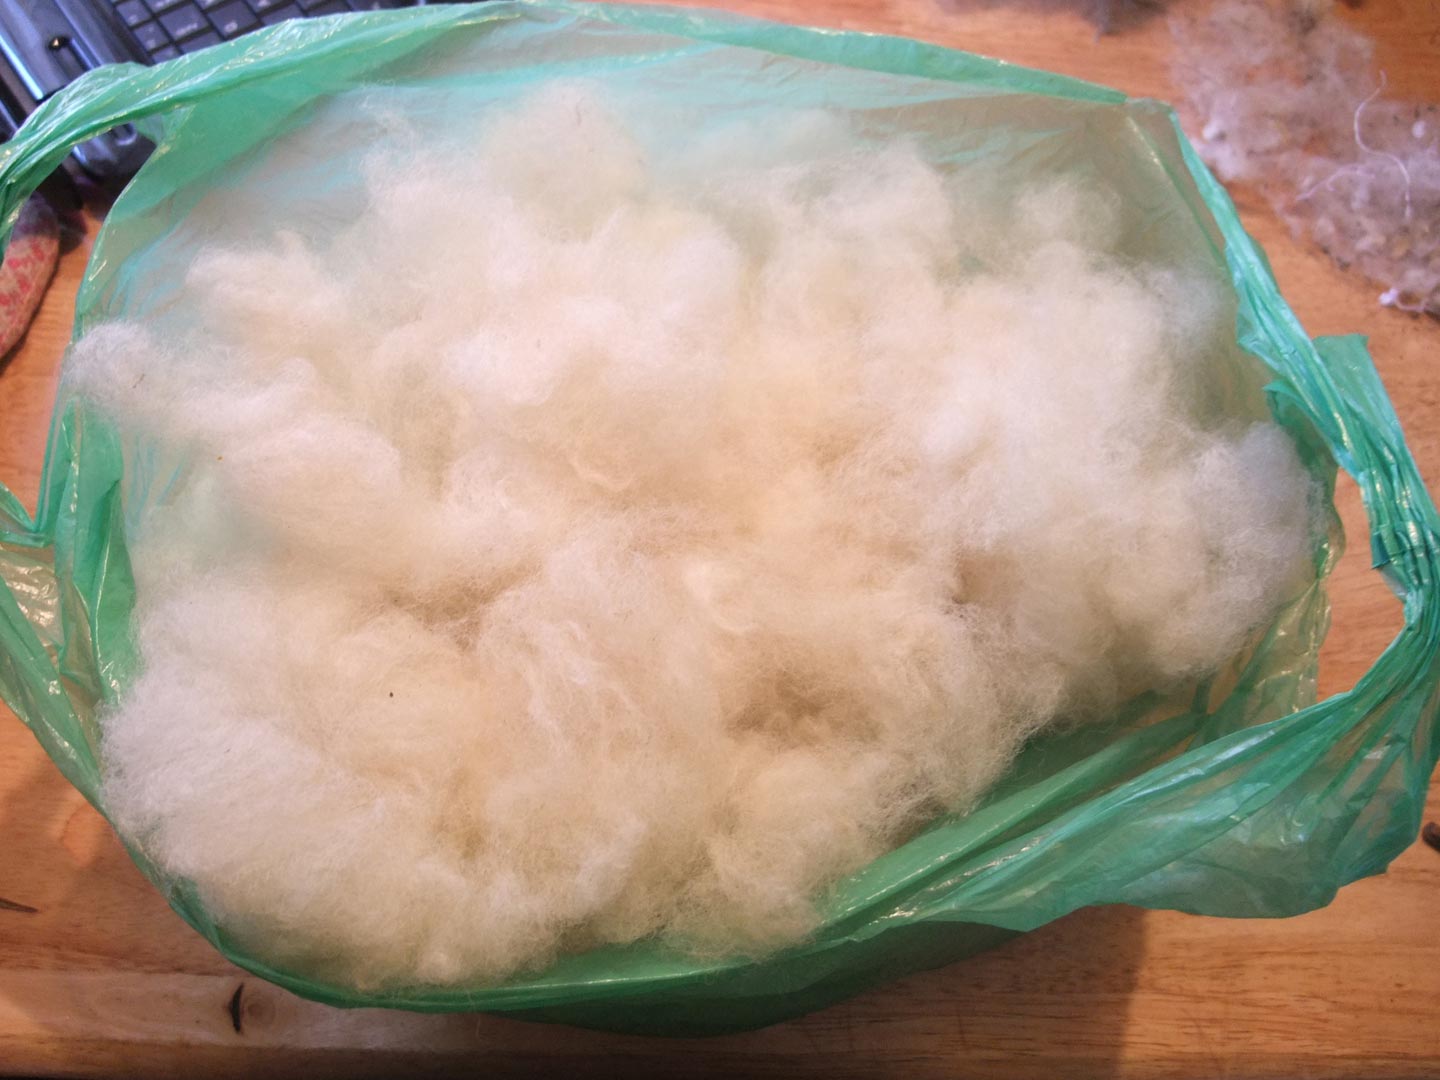
Ta-da – a bag of dreams.
Act 3
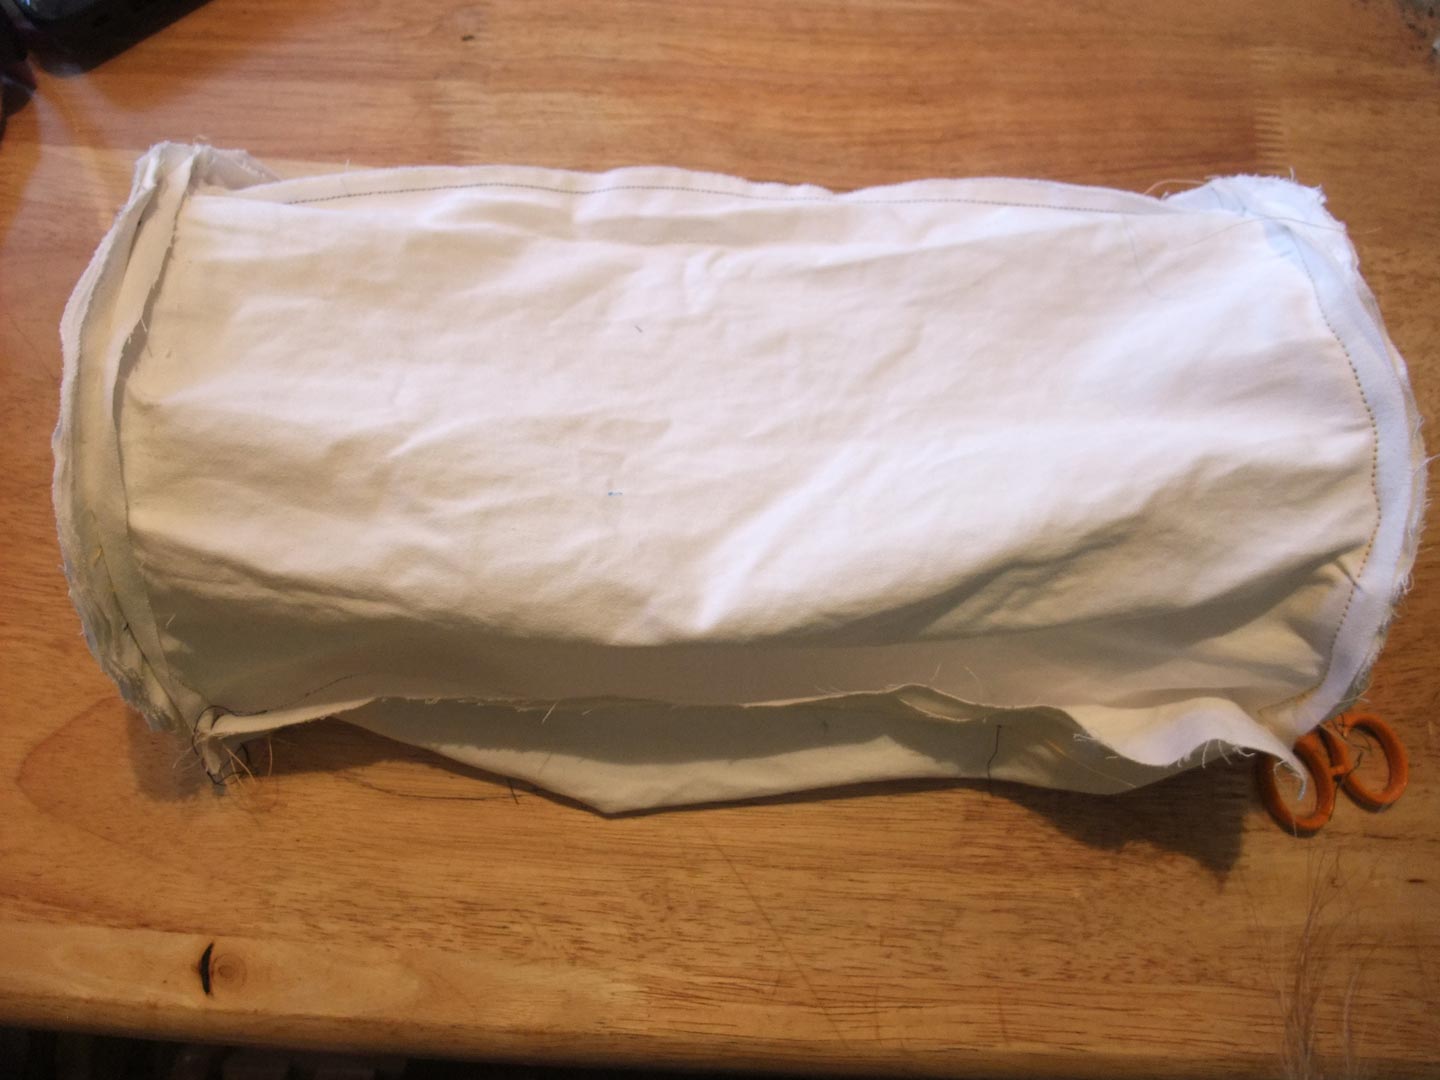
I can’t put the wool into the outside shell without some protective layer around it, otherwise the wool would slowly bleed out through the small holes in the crocheted exterior. So I needed to make a pillowcase.
To get to the circle that you see here, I just put the other outside end that I had crocheted onto cloth and drew around it with a pencil. I had 4 layers of very dense scrap cloth left which I used to made the ends of the pillowcase. Why so many layers? The ends tend to plop and stretch out, as crochet has no substance, so I needed to find something that would retain its shape even after it was sat upon.
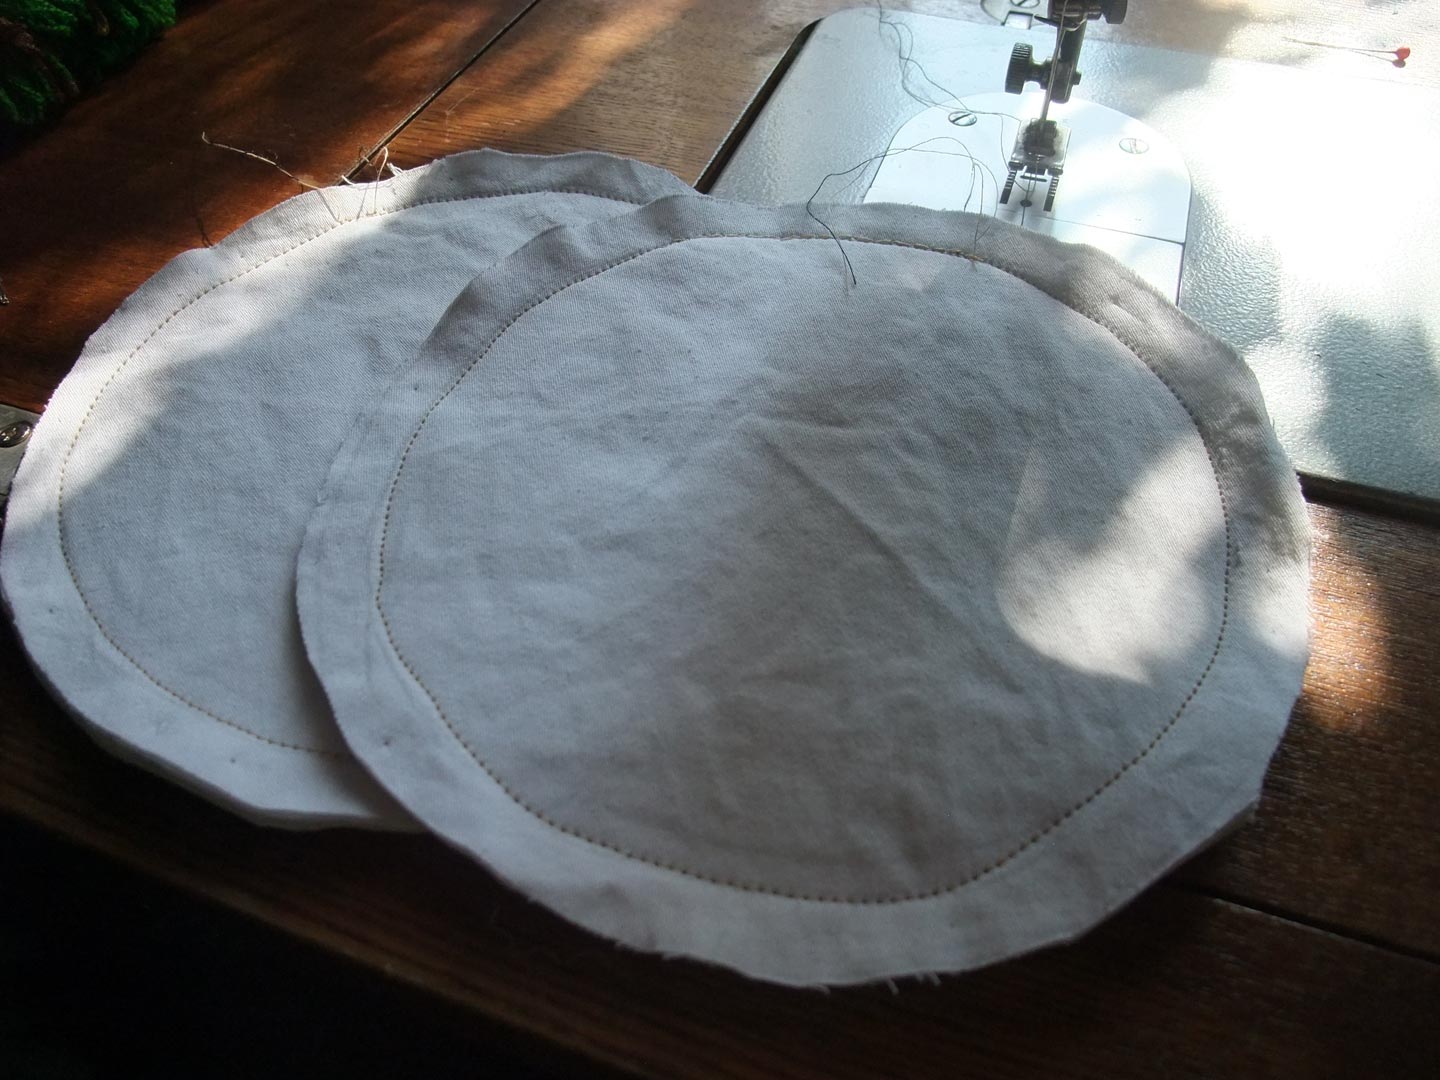
Here is the finished pillowcase from the left side. I didn’t measure the length of the inside very precisely, just pushed cloth in and added an imaginary 4cm (1.5 inch) to the length to account for the seams.
Of course I didn’t stitch all of it shut. I left a hole of around 10cm (3.9 inch), so that I could turn the pillowcase right side out and fill it with wool.
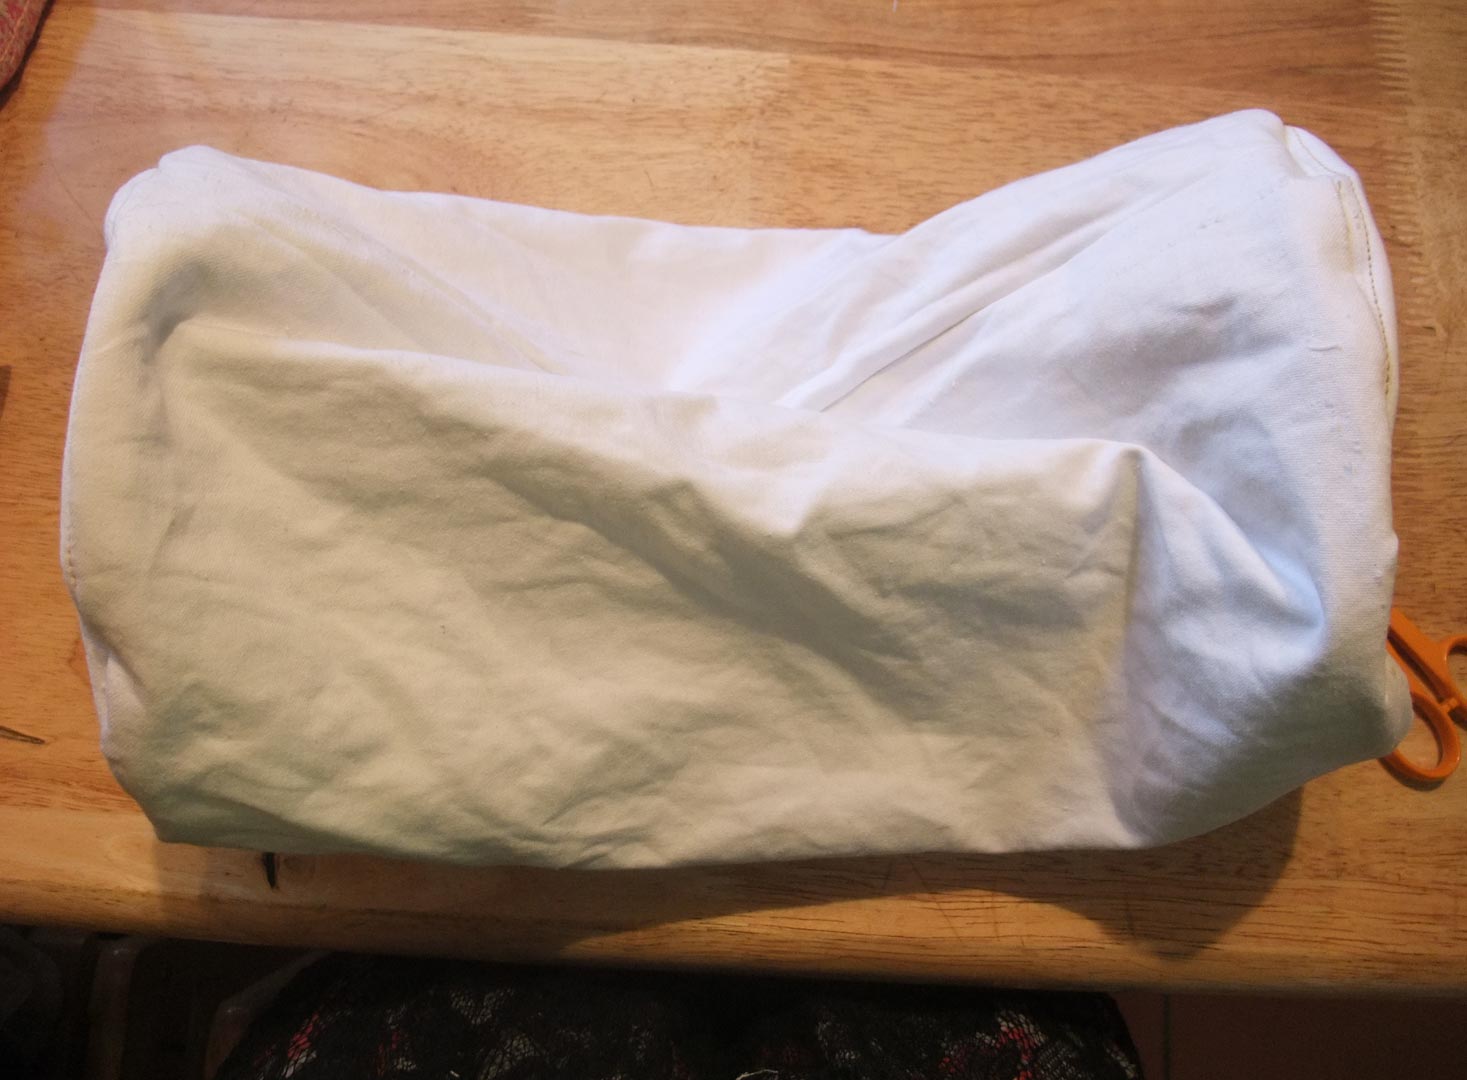
And here it is filled with wool!
Act 4
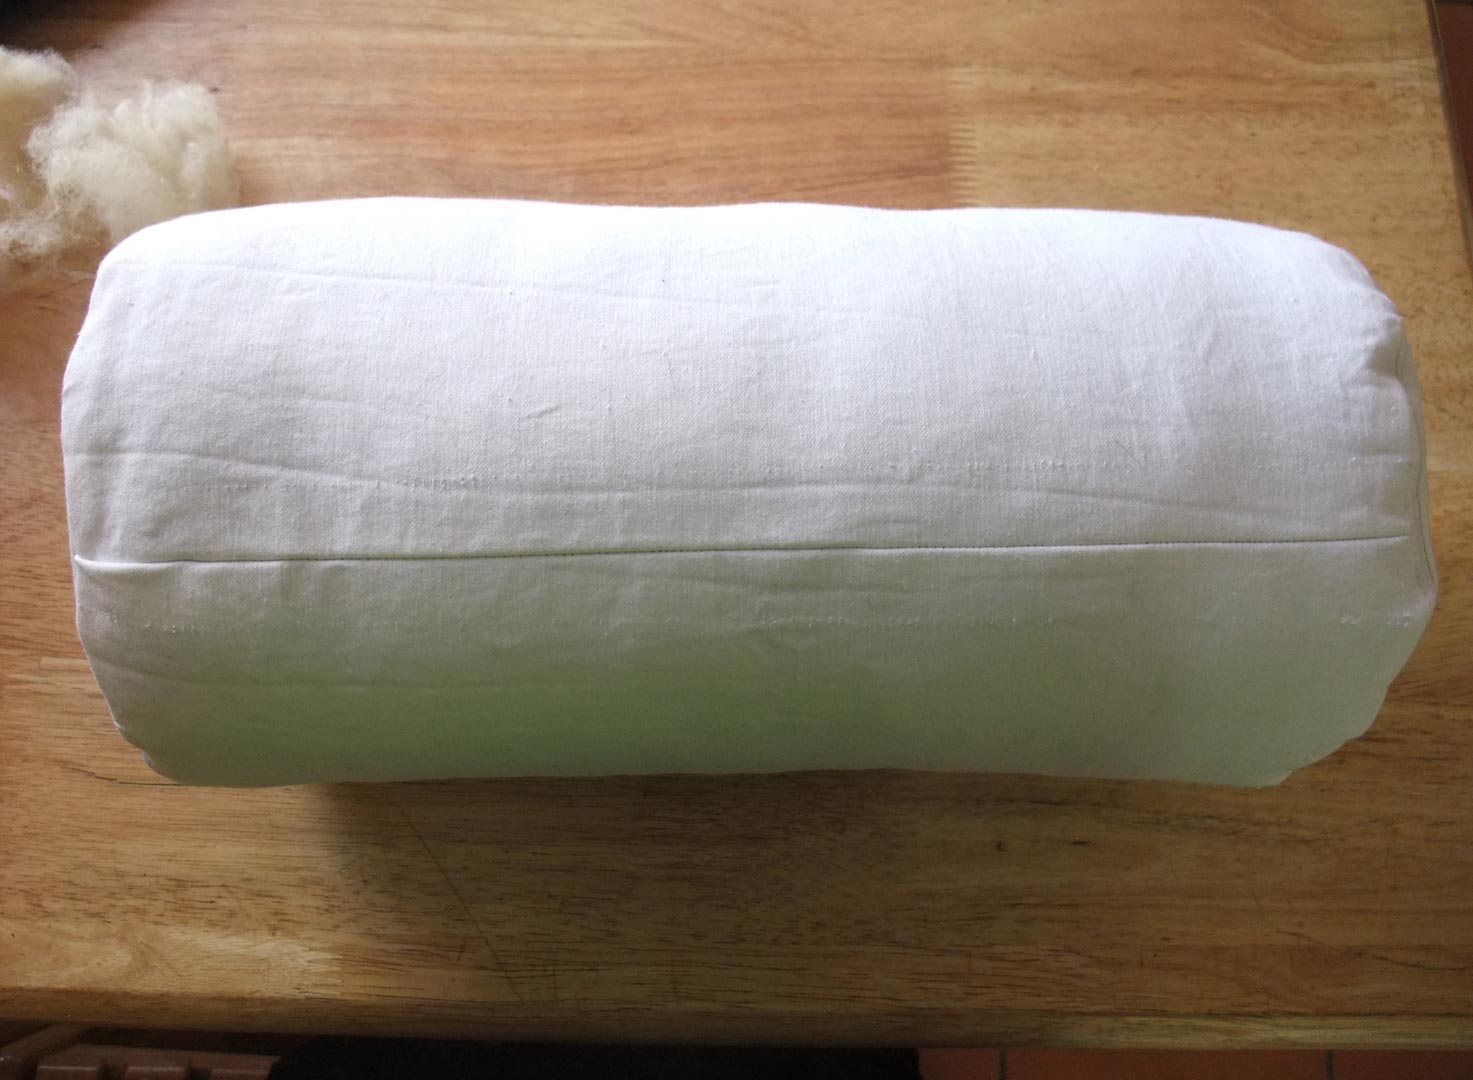
Now for the last mile. Put the pillowcase inside the outside shell and hope it fits. Don’t worry too much – crotchet stretches a bit.
And closed and ready for presentation.
If you are still with me after this epic quest and have any questions, feel free to leave a comment 🙂 Have fun making your own pillows.
P.S. No sheep were harmed in the making of this product.
What a wonderful post. Very interesting to see the processing of the wool. Thanks for sharing.
🙂 This is so cool! Thanks for sharing, I always wanted to know how it went from sheep > pillow.
I first clicked on this link from the reddits because it looked like you made a pillow from moss. I was not disappointed to discover that it only sort of looked like moss. My favorite part, however, was that where other people would go, “Oh, I need pillow stuffing, better go to the store,” you were all, “Oh, I need pillow stuffing, better sheer a sheep like a boss.” I only wish you’d shared photos of the sheering because i probably would’ve laughed a lot.
Anywho, that looks like a super-comfy pillow and I hope that your friend finds it some comfort while he cries himself to sleep at night.
Lovely work! It’s great to see how you combine your intelligence, creativity and craftsmanship.
There is no better stuffing for pillows and matresses than wool.